
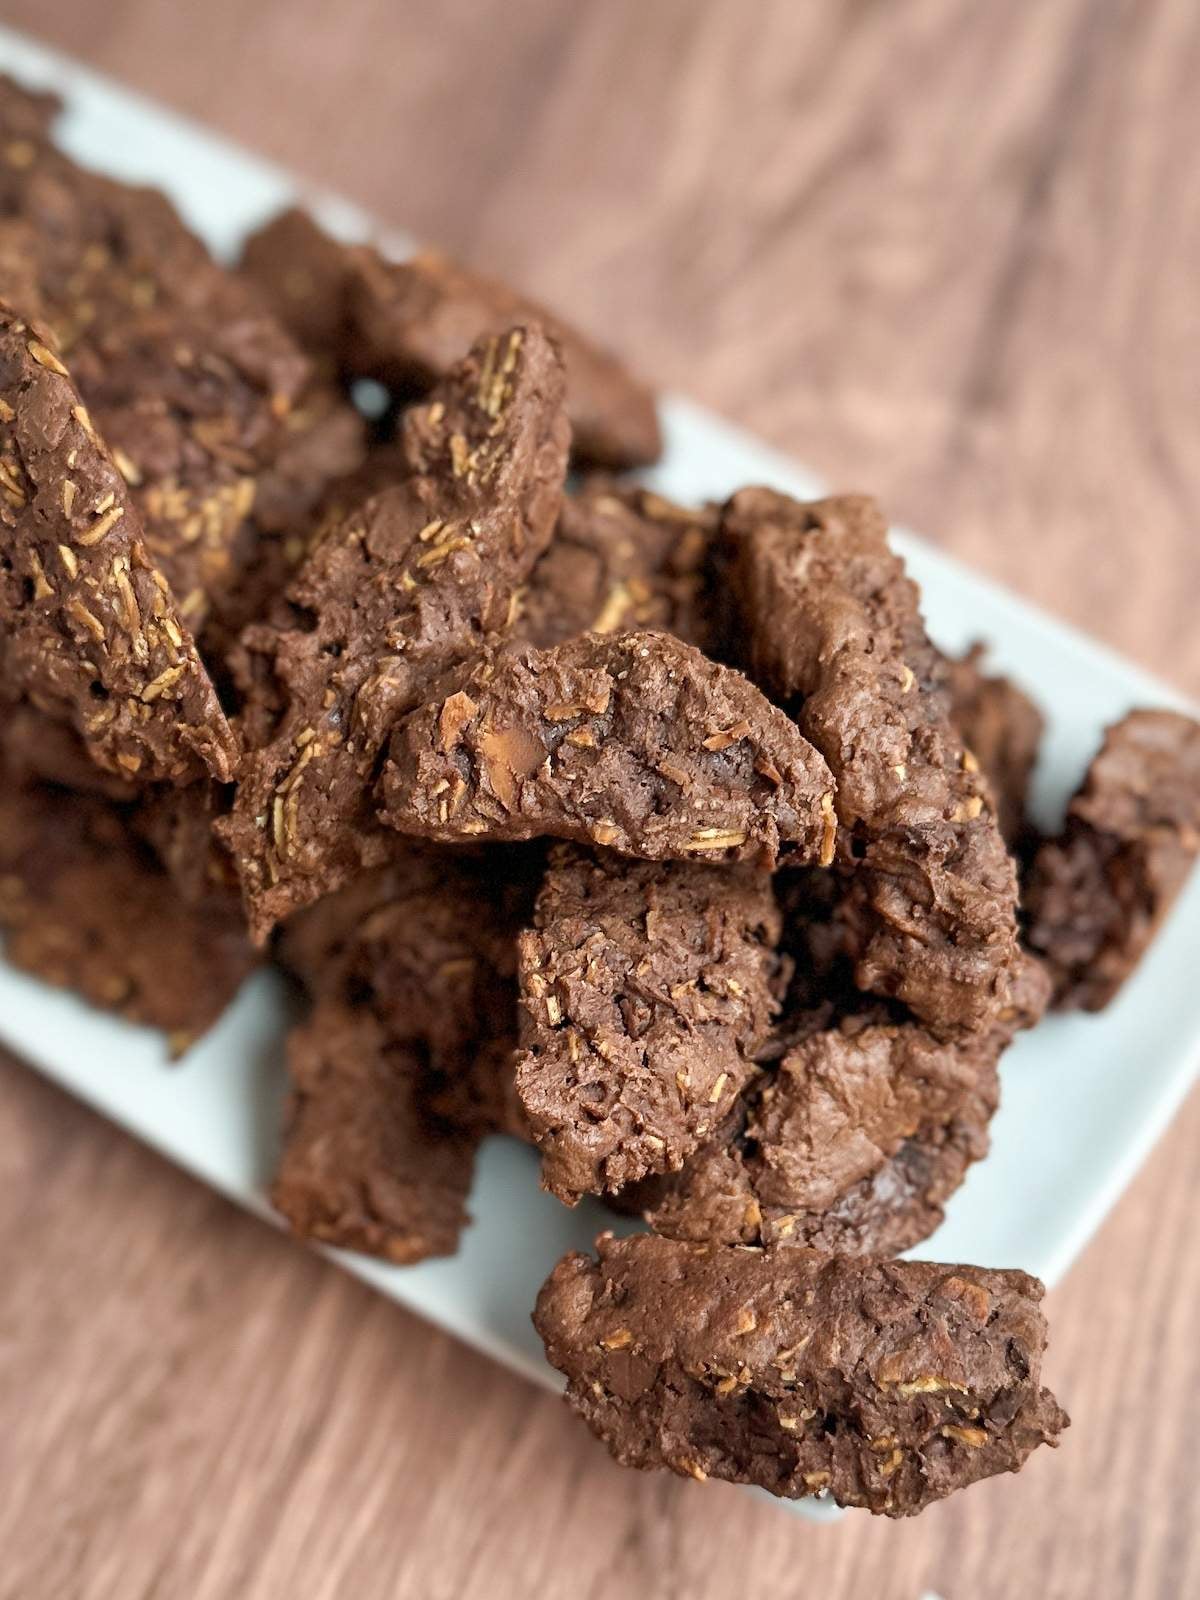
This Italian Chocolate Cookies Recipe combines rich chocolate, warm spices, and toasted almonds to make a classic Italian cookie that is perfect for holiday baking trays, sharing with friends, or just an everyday sweet treat for you and your family.
This post may contain affiliate links. This means, if you click a link and make a purchase, I may earn a small commission at NO extra cost to you. Thank you!
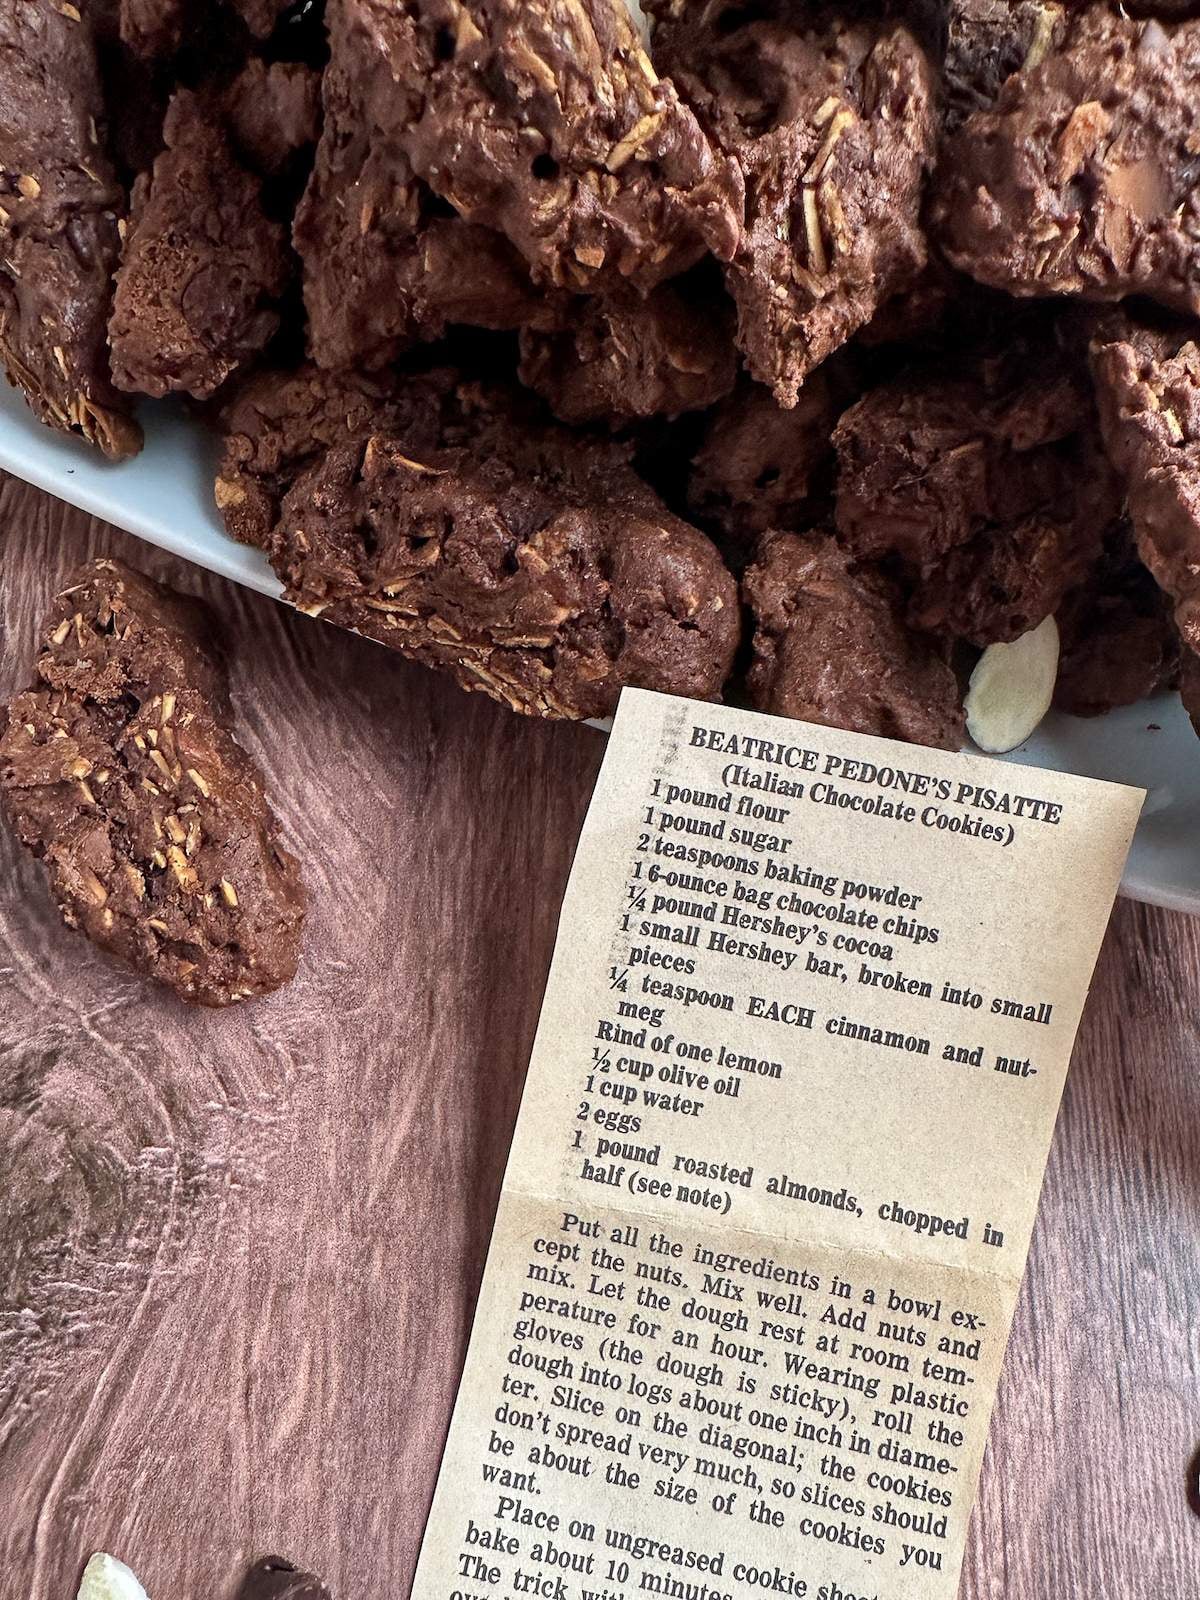
The first recipe card that I picked in my new “Mystery Recipe Box” series was for “Beatrice Pedone’s Pisatte (Italian Chocolate Cookies)”.
It felt perfect because my grandmother who gave me the old recipe box is first generation Italian-American. She still makes an enormous amount of Italian cookies for every single holiday and event.
I had never heard of a “Pisatte” before. After some googling, it seems to be a misspelling of “Pitsate”, which is more commonly known as “Pizzette”.
A Chocolate Pizzette is a classic Italian cookie that combines rich chocolate, warm spices, and toasted almonds.
It’s often served at Christmas, which makes sense with its warm and cozy flavor. And nostalgic feel.
If I can figure out how to make the final, baked cookies look better (lol), I may add these Italian chocolate cookies to my own holiday cookie trays.
Lessons Learned
I definitely learned a lot with this family recipe.
Wear Gloves
The recipe card said to wear gloves while rolling the dough into logs. It blatantly said, “the dough is sticky”. And I was like, naaaahhh. I don’t need gloves…
… I most DEFINITELY needed gloves. The amount of thick dough that stuck to my hands was insane.
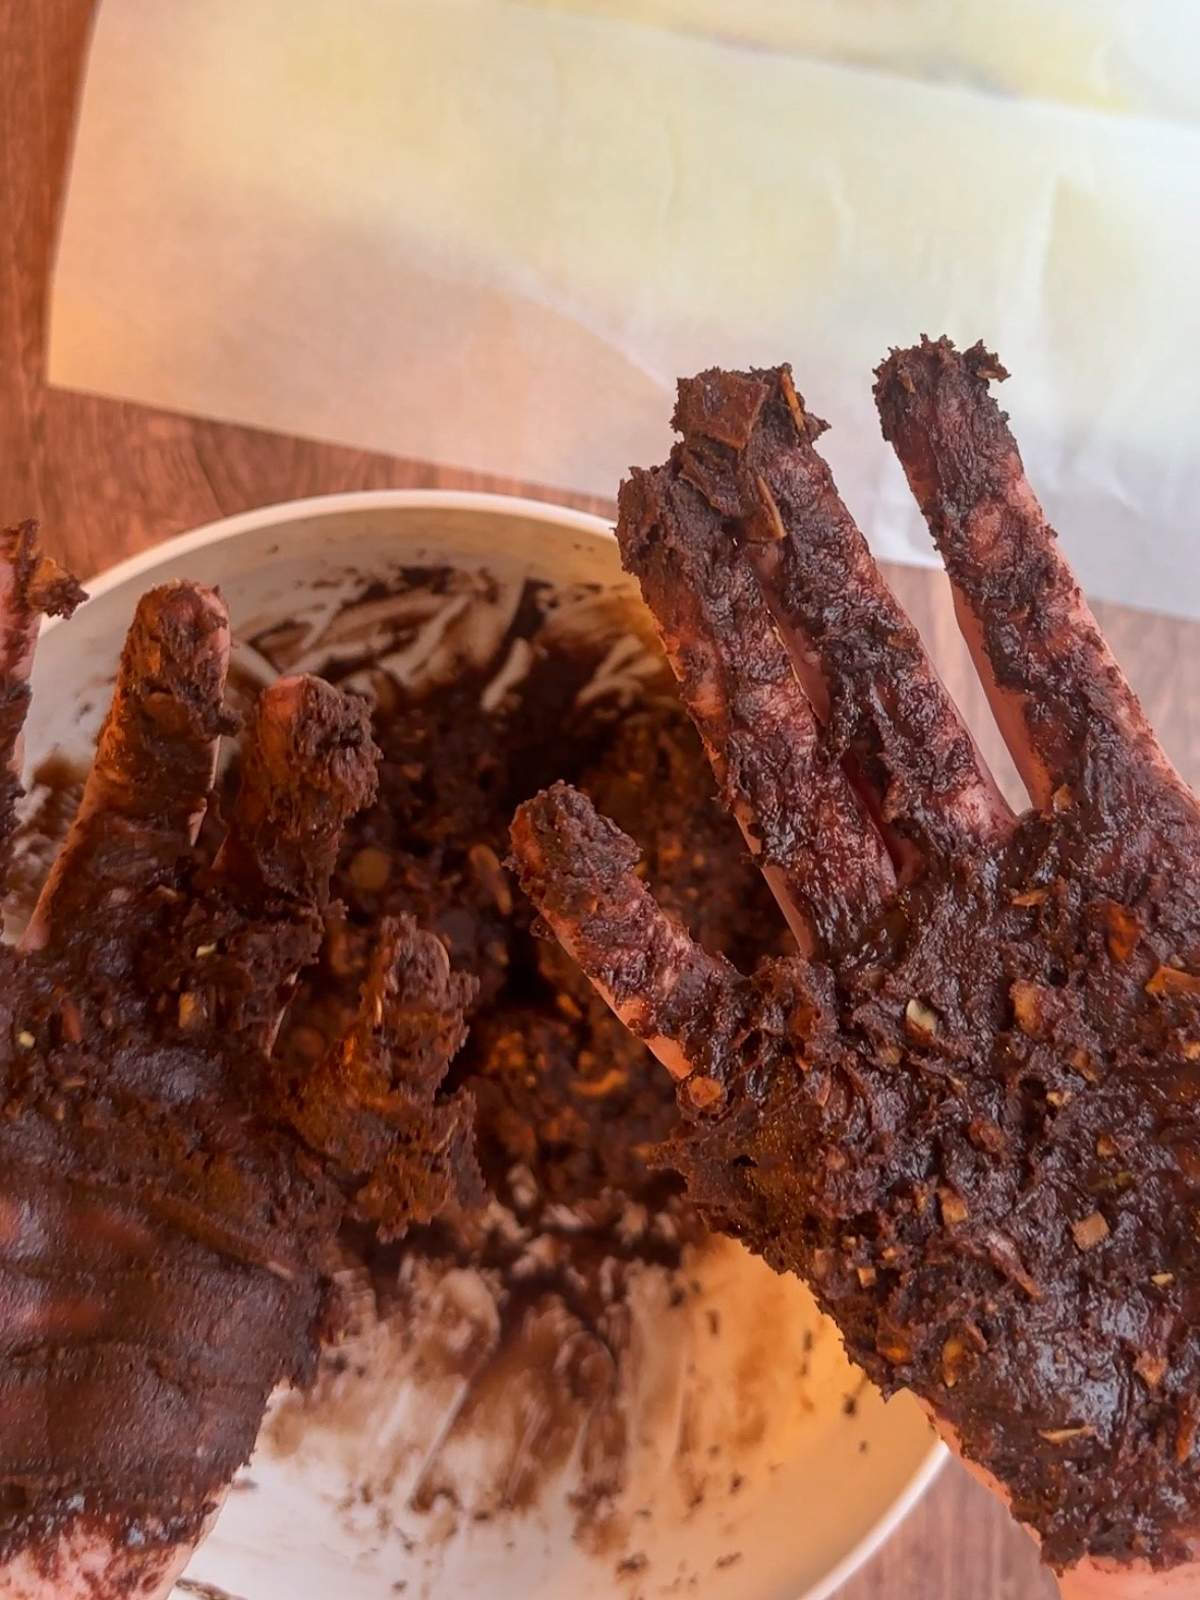
And it was really difficult to scrape off.
Once I put on gloves, that problem disappeared. I can’t recommend them enough.
Luckily, we had just bought a box of these Nitrile Disposable Gloves for cleaning. They’re powder-free and food-safe so I threw on a pair. They worked perfectly for this incredibly sticky dough.
Slice on the Diagonal
This instruction on the recipe card REALLY confused me for some reason. I didn’t know if I was supposed to cut the cookie dough diagonally at a 45-degree angle, all the way down. But, now I'm like, why would we cut cookies like that? 🤦🏻♀️
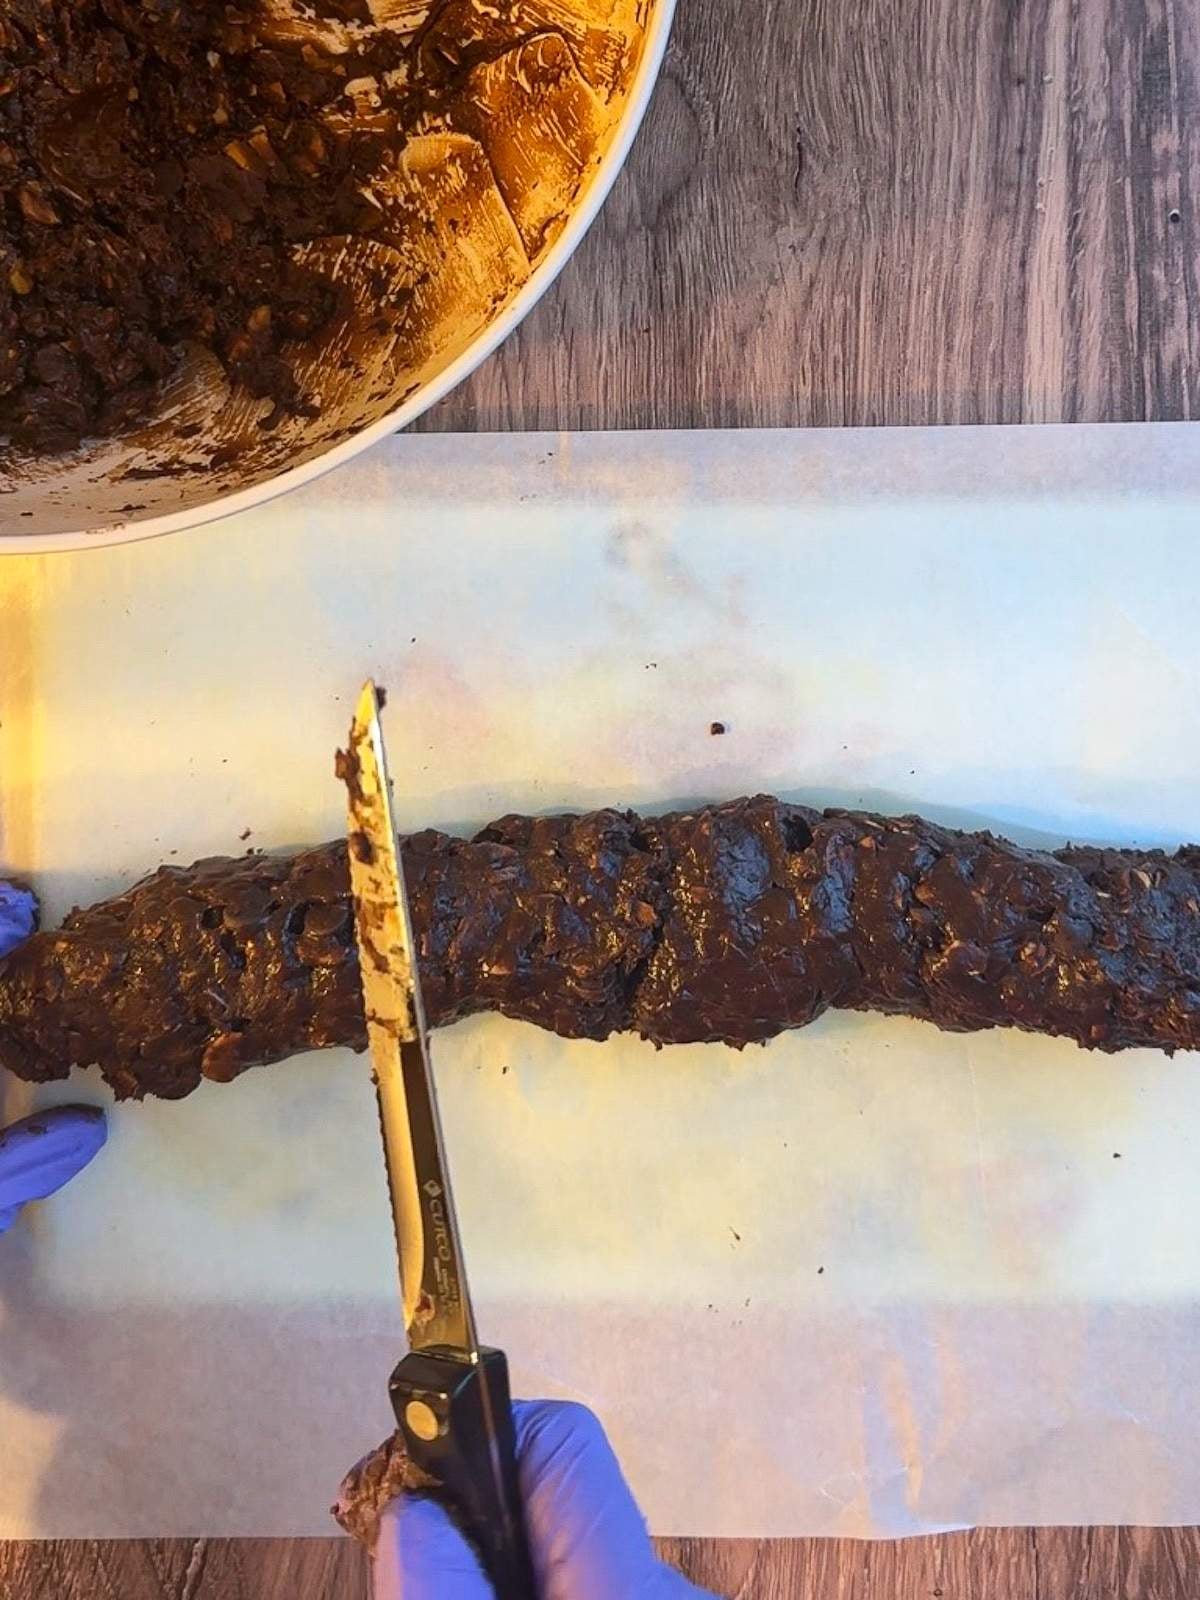
OR if I was supposed to cut the log diagonally, but straight down.
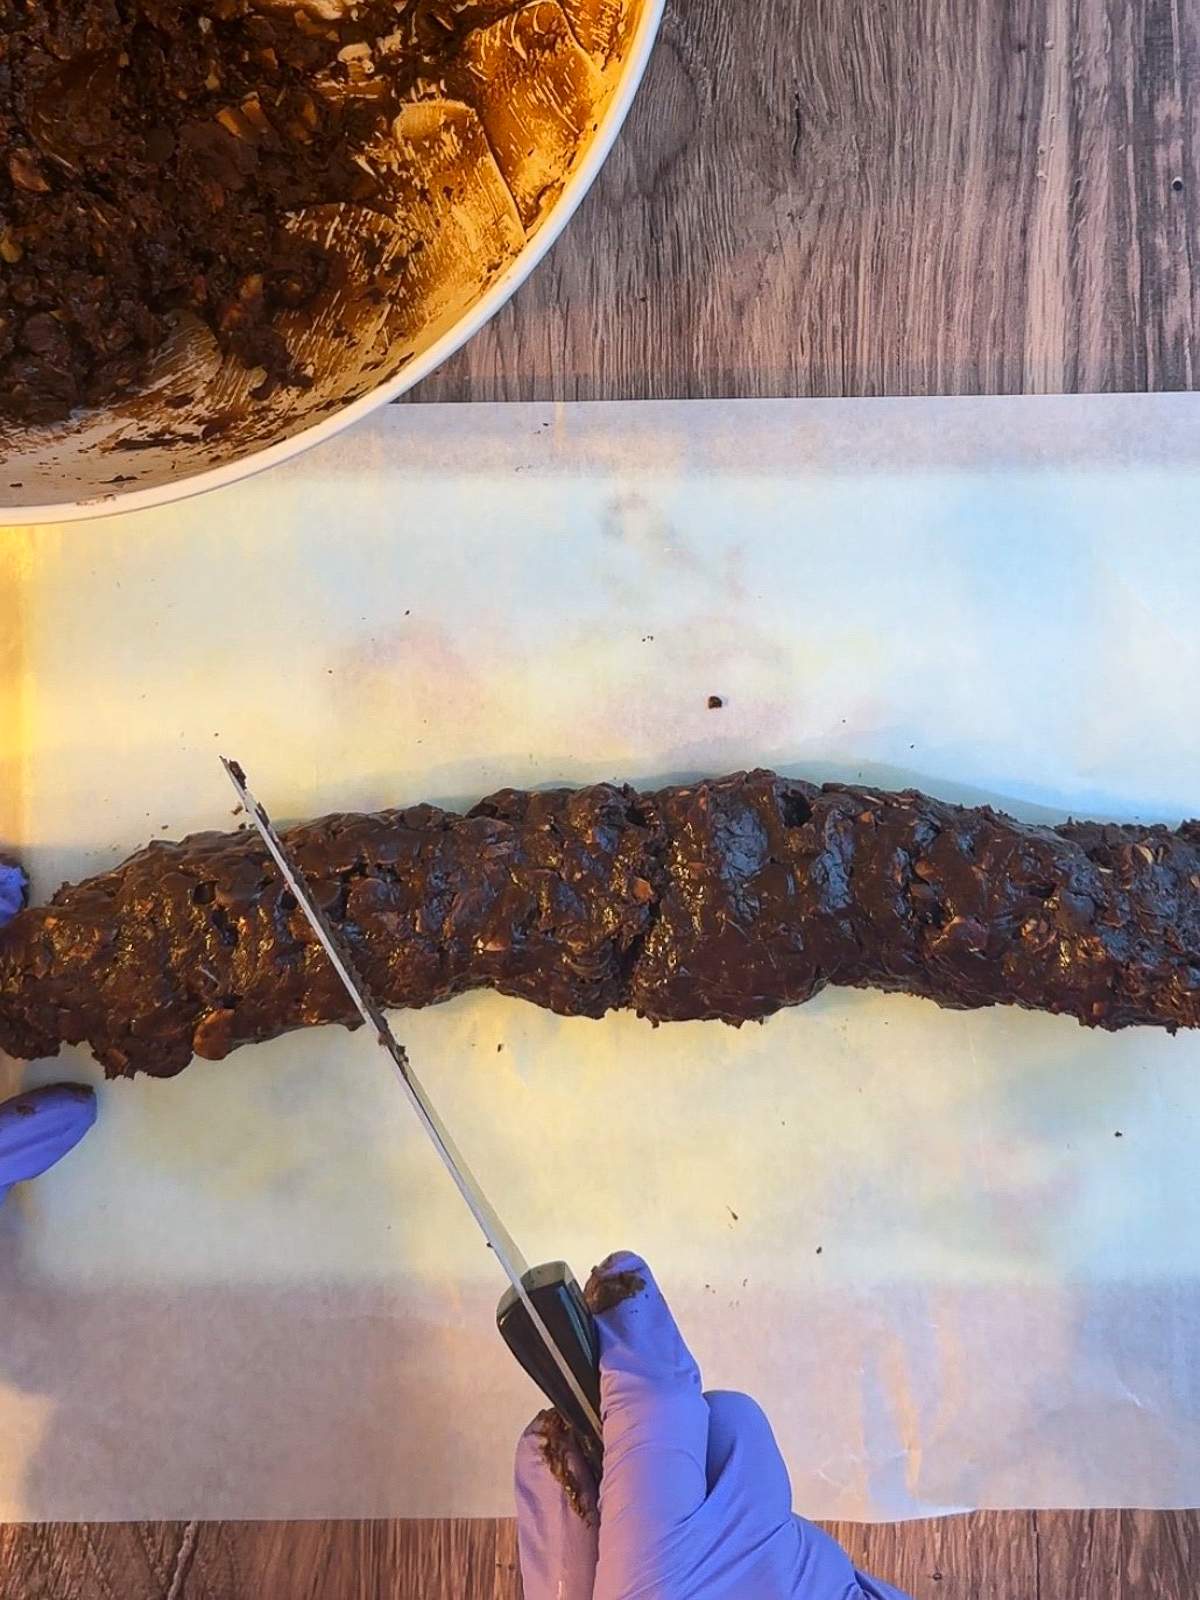
I did a mixture of both.
As soon as my dad saw the finished cookies, he was like, OH! I remember these from when I was a kid! They were supposed to be cut diagonally in a way that creates diamond-like shapes.
So, the second way of cutting (the second photo above) is how one is supposed to cut these Italian chocolate cookies.
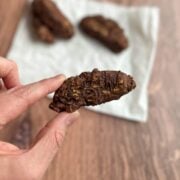
I couldn’t really find any diamond-like shapes in my baked cookies though… Maybe if I molded better looking logs?
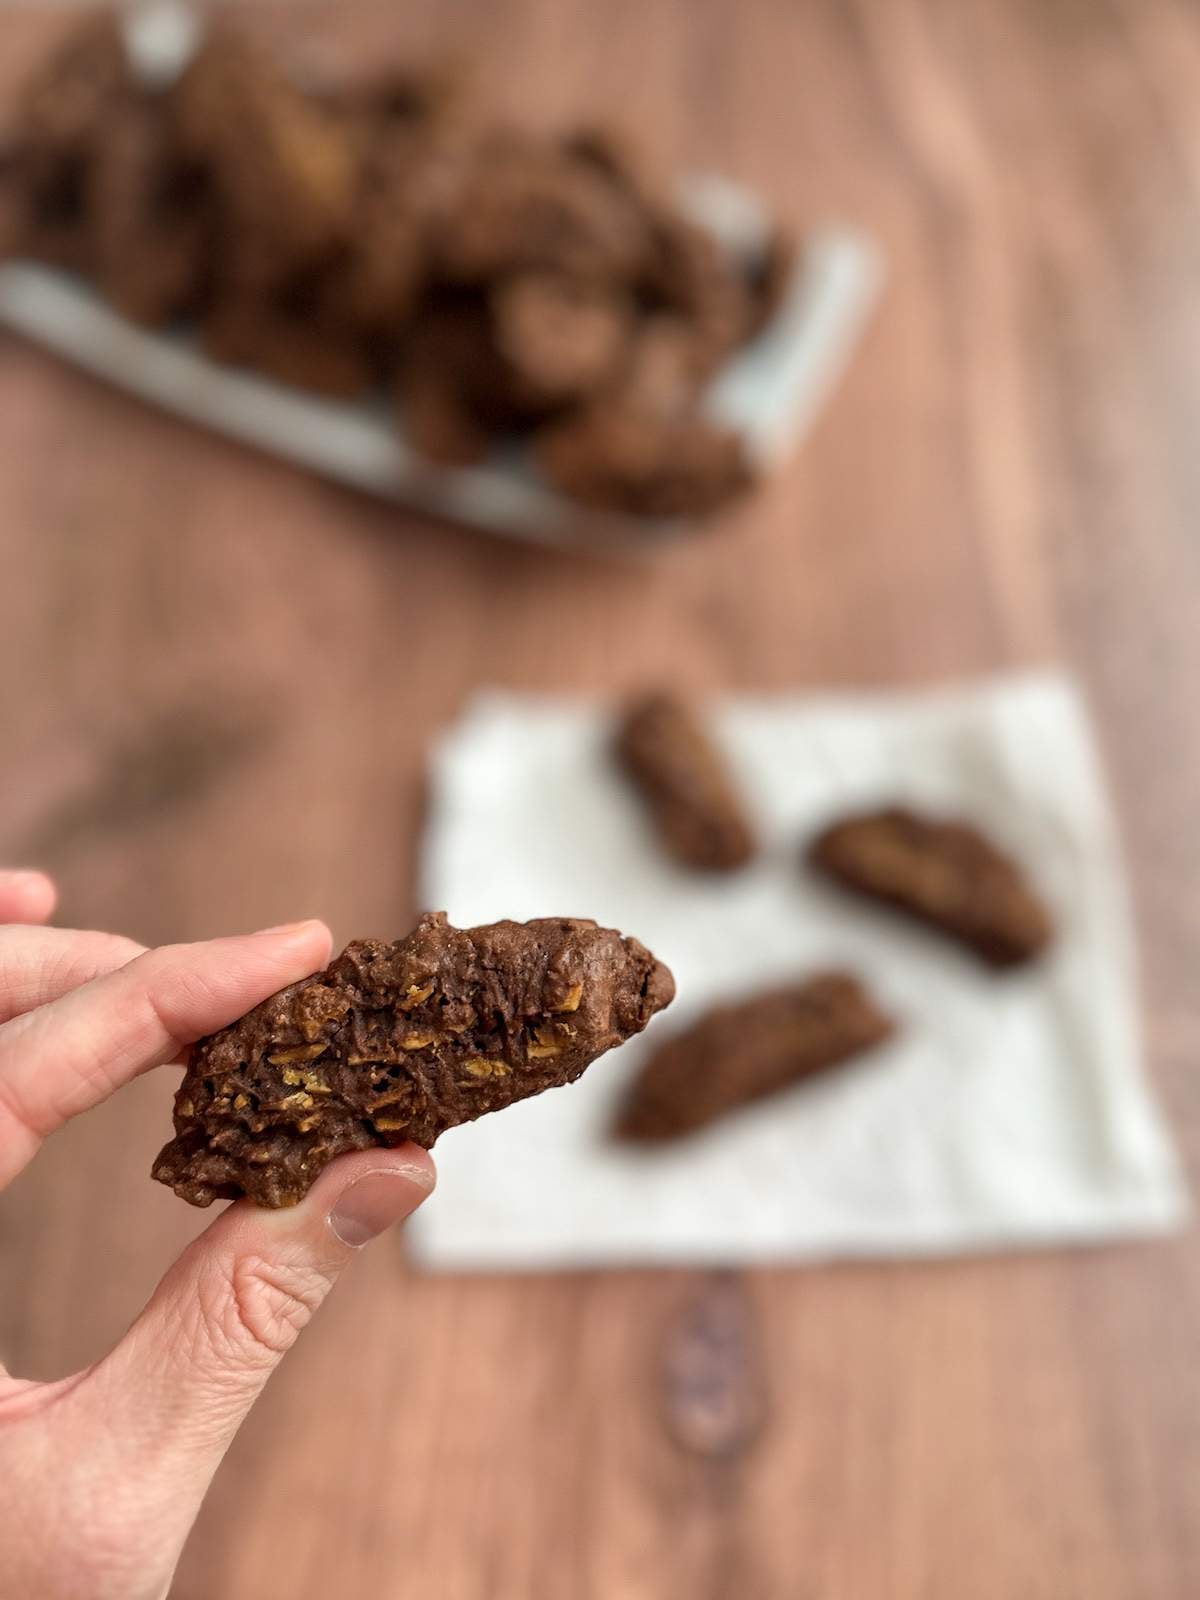
I definitely think the chocolate dough is too sticky to use a cookie scoop. It may be possible to roll the dough into balls while wearing gloves, but then these wouldn’t be the traditional Italian cookies.
Also, the cookie dough doesn’t spread much while baking, so whatever dough you put on the baking sheet to bake will be the size and shape of your cookies.
Multiple Logs
It really does look like I’m playing with poop in these photos…
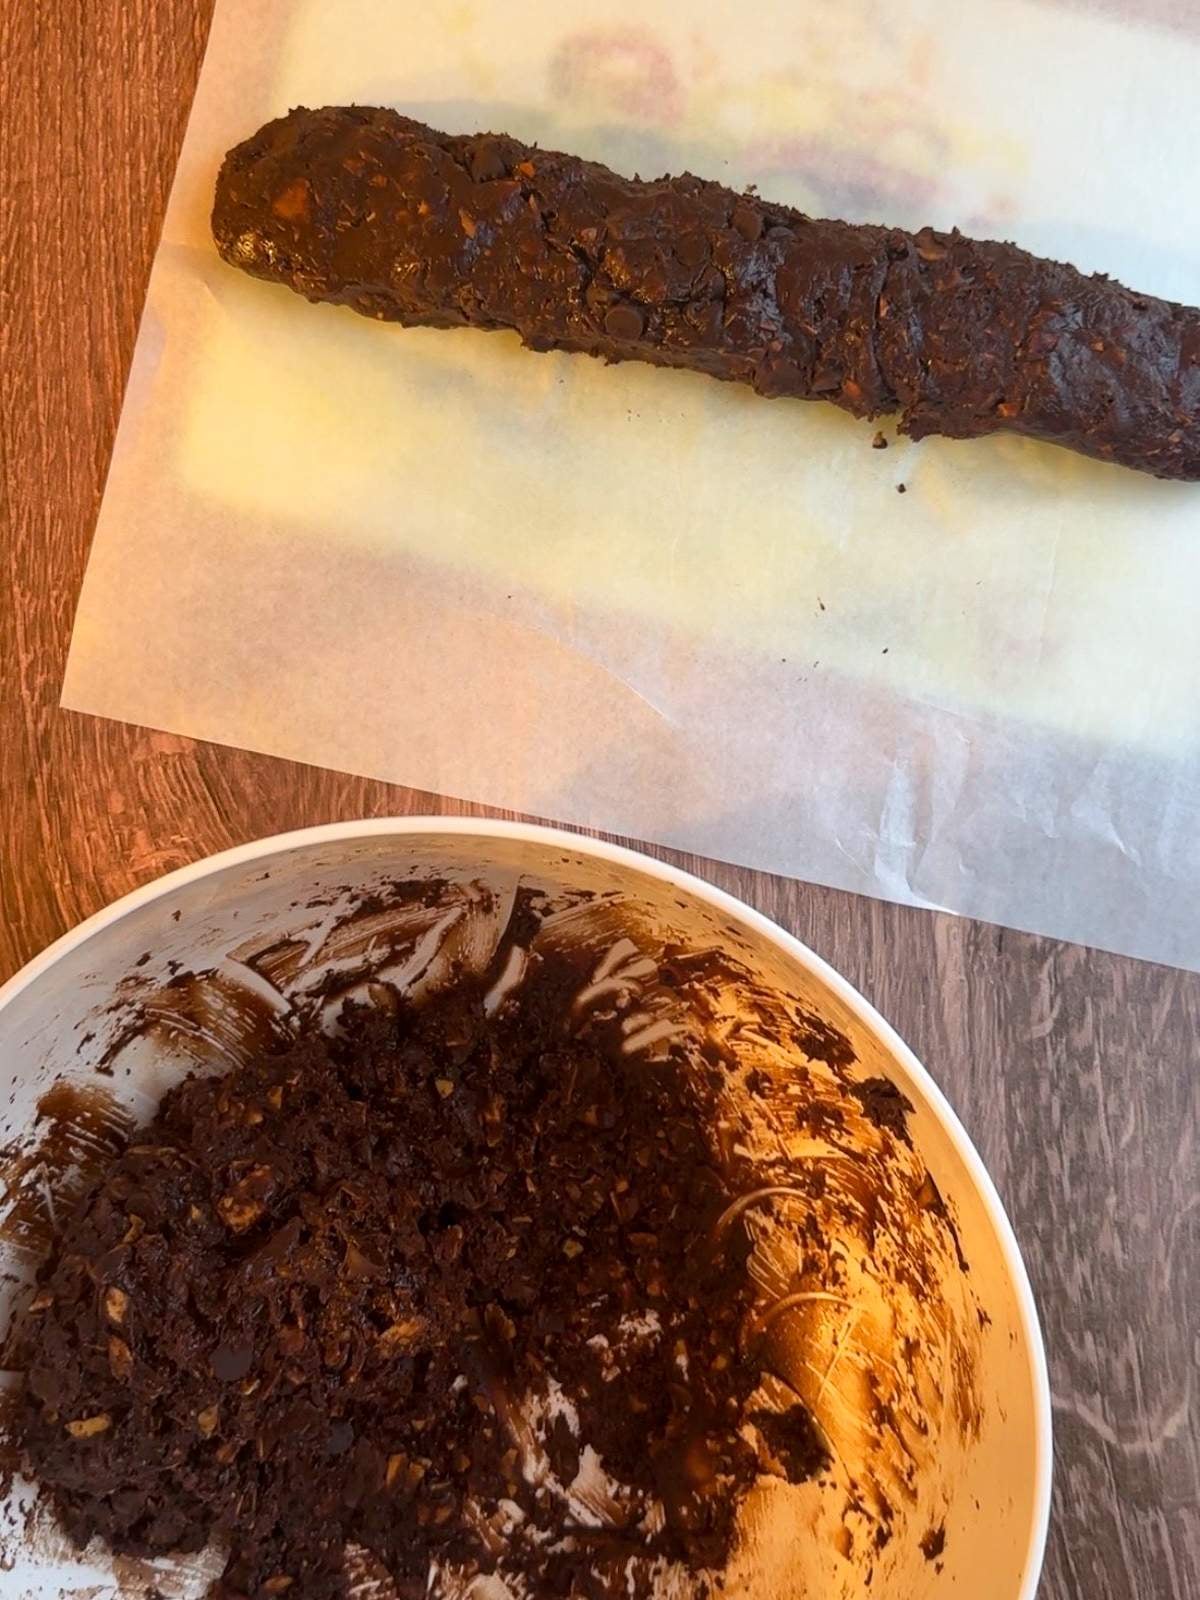
Anyway, I didn’t roll ALL of the dough into a massive log. I did it in increments.
I took a chunk, molded a log that would fit on my cutting board, cut that, then put those slices on a baking sheet.
Once I filled the baking sheet, I put that in the oven and prepared the next log.
Baking one sheet of cookie dough slices at a time is definitely easier to do with two baking sheets.
If you only have one baking sheet, I recommend allowing the cookies to cool on the sheet for at least a minute or two then transferring them to a wire rack.
Allow the baking sheet to cool some more before putting new dough slices onto it.
How Long to Bake
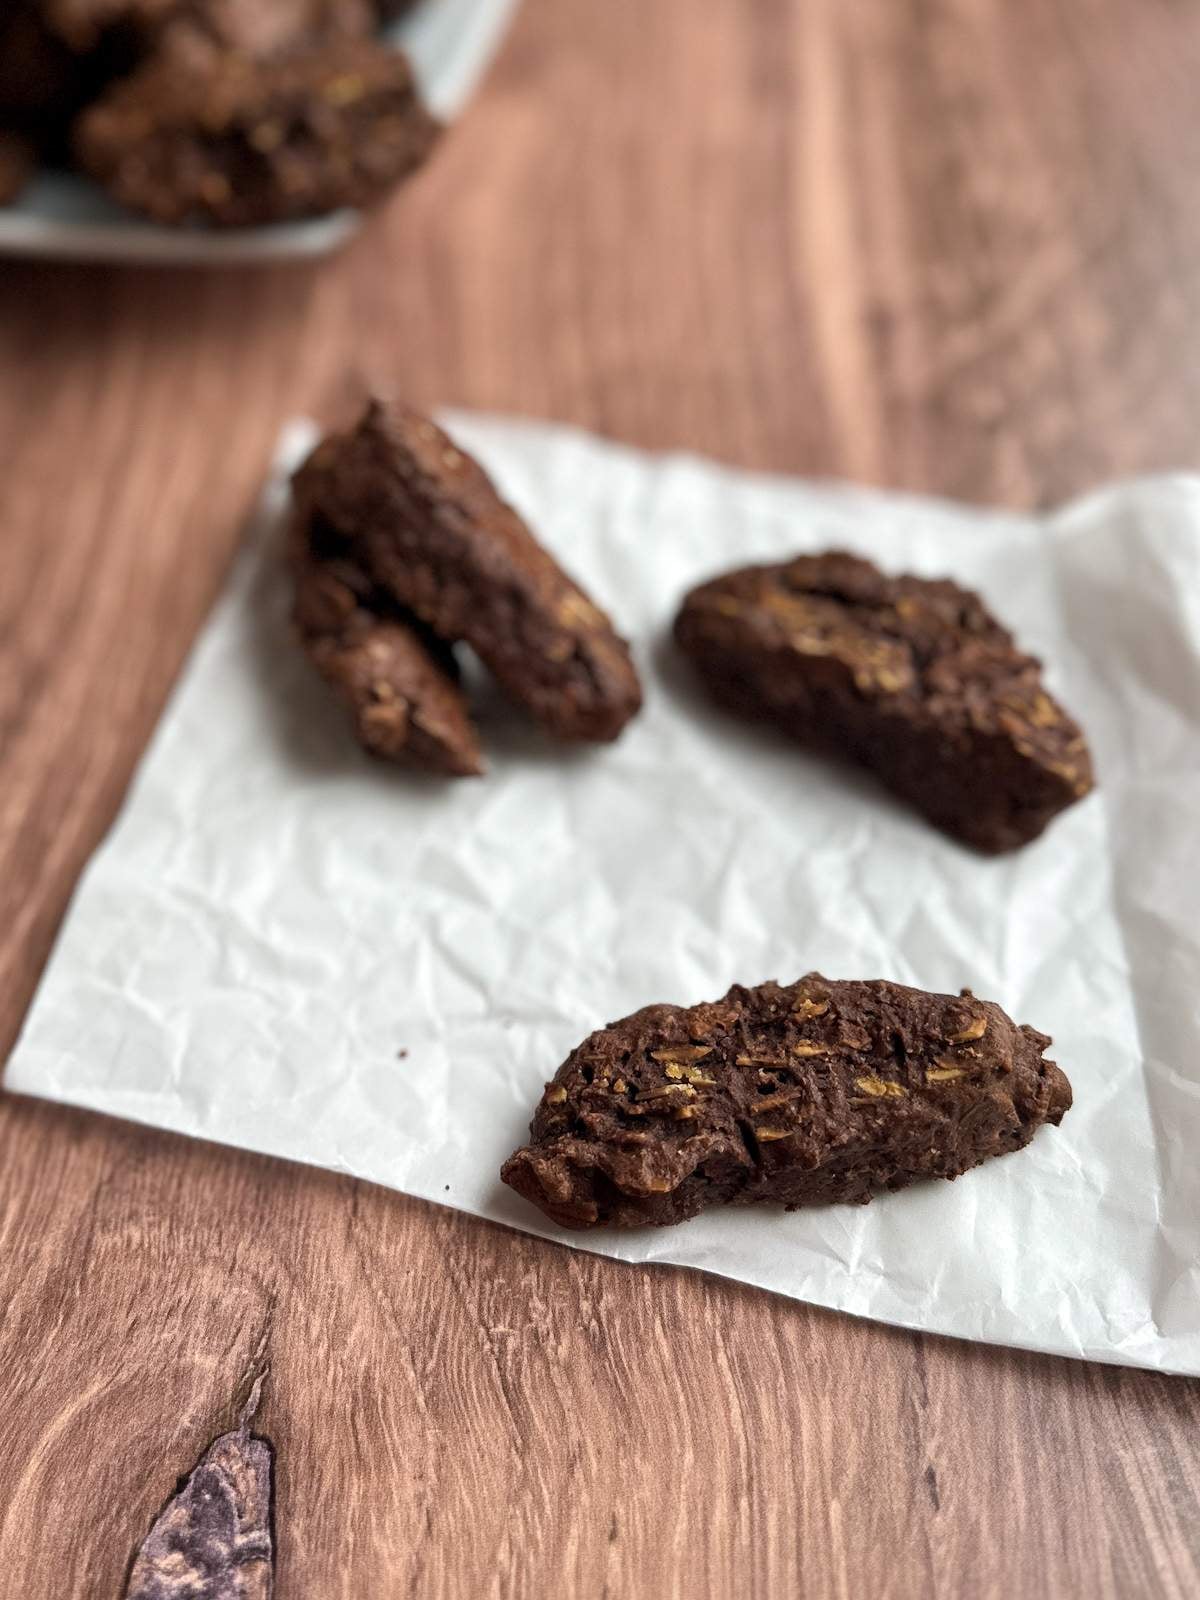
The recipe card says, “The trick with these cookies is not to overbake them; take them out when the cookies still are slightly soft and a finger touched lightly on a cookie leaves a slight impression”.
I baked most of the cookies for 8 minutes because I was worried about overbaking them and cookies still cook a little while they cool.
BUT, some of the cookies were a little too soft in the middle and broke in half. They hardened some once they cooled, but I think I didn’t need to be as careful as I was.
Baking around 9-10 minutes worked better.
Adjustments Made
I halved the recipe for this series. If the cookies turned out terrible, I didn’t want to waste the ingredients (considering how expensive groceries are).
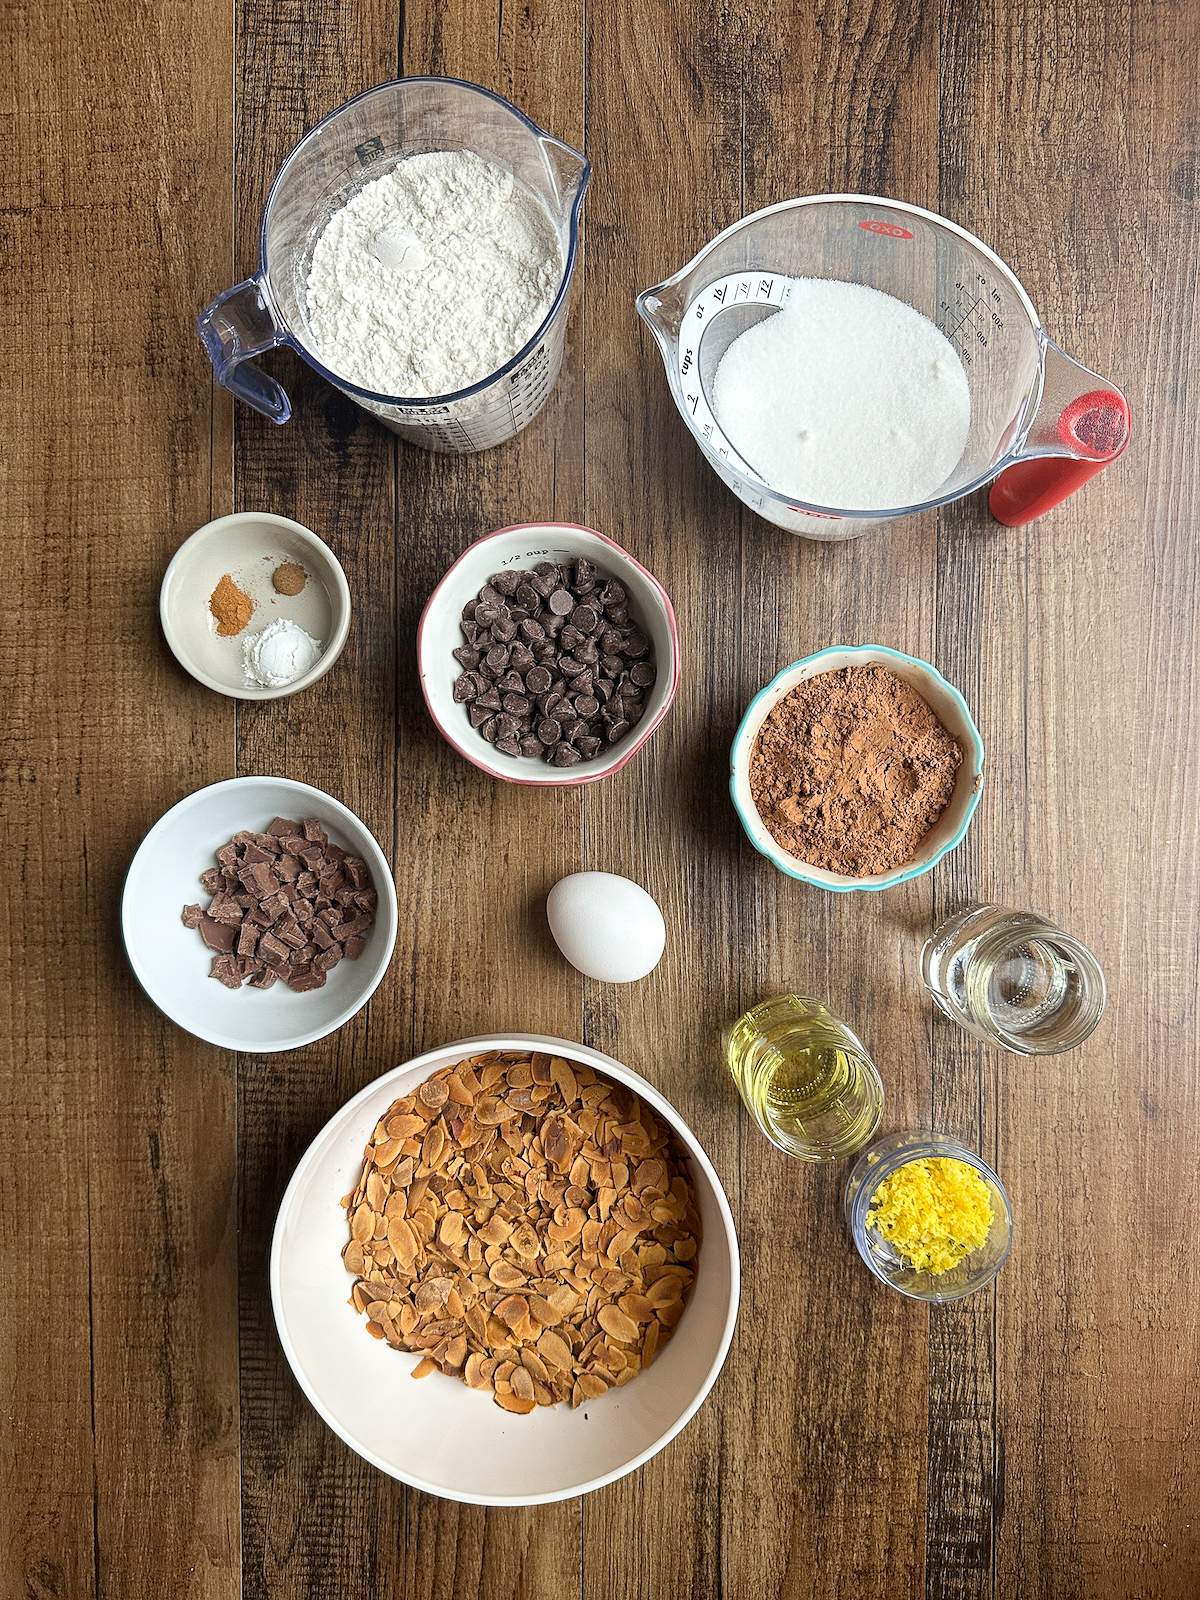
Fortunately, these Italian chocolate cookies, taste-wise, turned out great! My dad and grandma ate them all in just a couple days.
Half of the recipe still yielded about 50 cookies. So they ate A LOT of cookies.
I did make two other changes to the recipe though.
Roasted Almonds
The original recipe calls for “roasted almonds, chopped in half”.
I don’t trust myself to cut almonds. So, to save my fingers and time for us all, I used already sliced almonds from the grocery store.
A half pound (because I halved the recipe) of whole almonds is equivalent to about 2.5 cups/8 ounces of sliced almonds.
Nuts are so expensive right now, so I chose a 6-ounce bag of sliced almonds to use in this recipe.
At first, I was worried about using less than the recipe stated. “How can I evaluate a recipe if I use less?!!”
Then, when I began to add the sliced almonds to the dough, I panicked that I had too many.
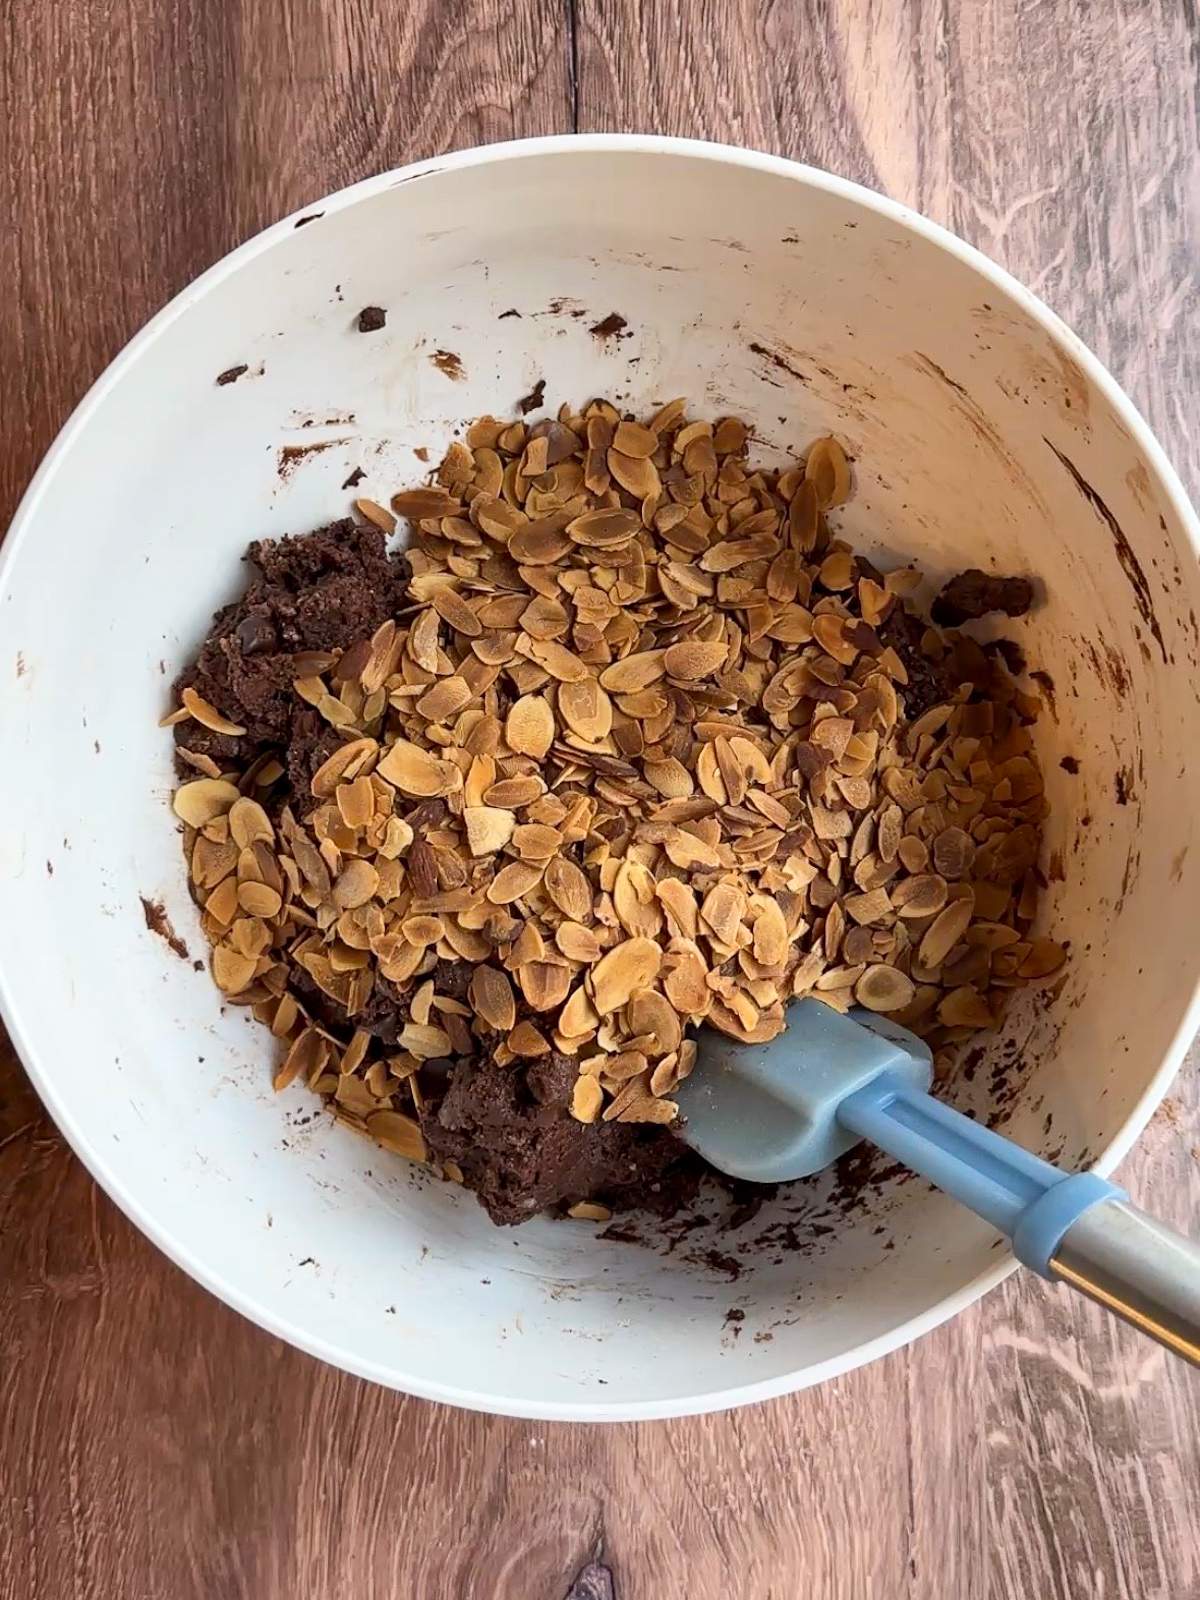
Ultimately, I think 6 ounces of sliced almonds (a little less than 2 cups) is the perfect amount for these cookies.
I did toast mine for a little too long, as you can see in the photo. So, I recommend only toasting them for 8-10 minutes. They were pretty good extra toasty though.
Hershey Bar
This was a tough one. The recipe card lists, “1 small Hershey bar, broken into small pieces”.
Hershey bars have changed sizes throughout the years. And I have no idea what year this recipe is from.
I’m also realizing, right now, that I totally screwed up and used the equivalent of a whole small Hershey bar…. Even though I was halving the recipe.
I wonder if that contributed to the poop look… Maybe accidentally adding double the chocolate bar pieces lead to a less structured log?
Well, whatever, they tasted great. I just unintentionally added more chocolate flavor to the delicious cookies.
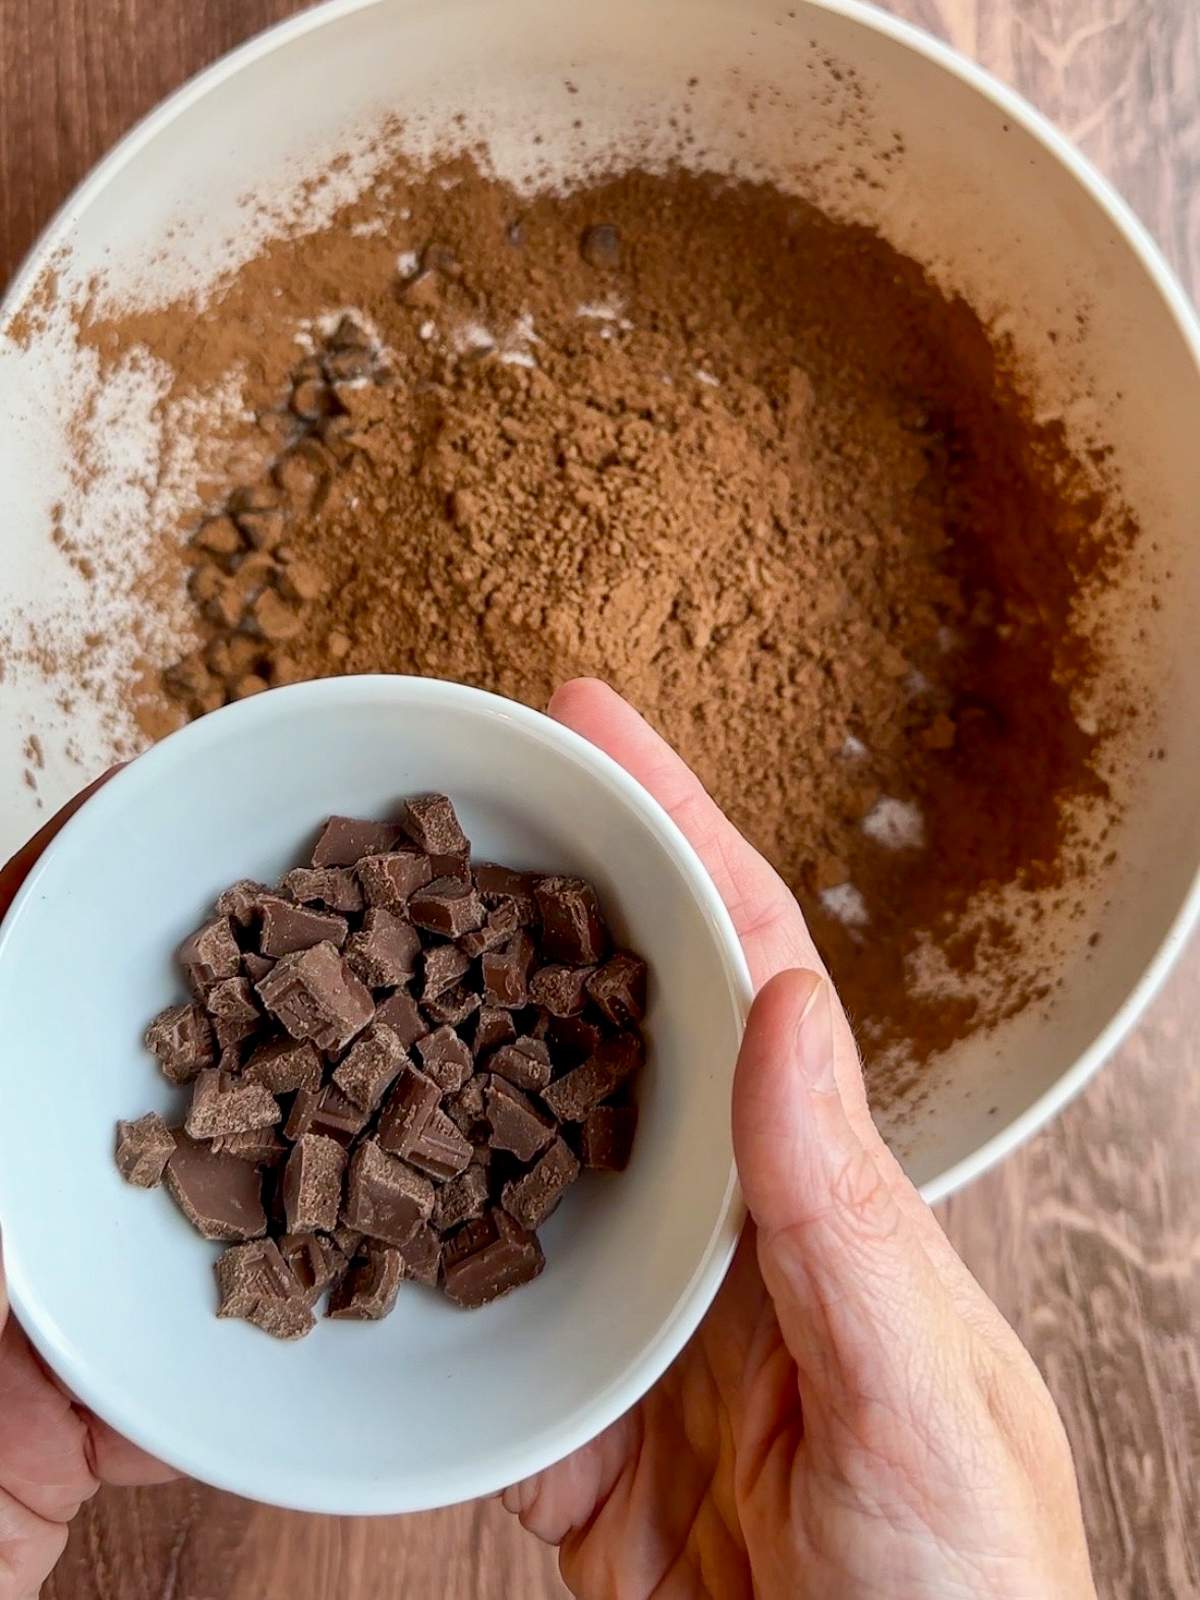
Anyway, I gathered information about Hershey chocolate bars and their sizes throughout the decades. I decided the safest bet was to consider our present day, normal-sized Hershey bar (43g) as the old “small Hershey bar” because the old regular bars were BIG.
If you have snack-sized Hershey bars (especially for or leftover from Halloween), 3.25 (three and one quarter) of those equal 43 grams/one regular chocolate bar.
How to Store
Store the Italian chocolate cookies in an airtight container, at room temperature, for up to 5 days.
You can also freeze these cookies in a freezer-safe container or freezer bag for up to 3 months.
When you’re ready to enjoy them, simply thaw at room temperature.
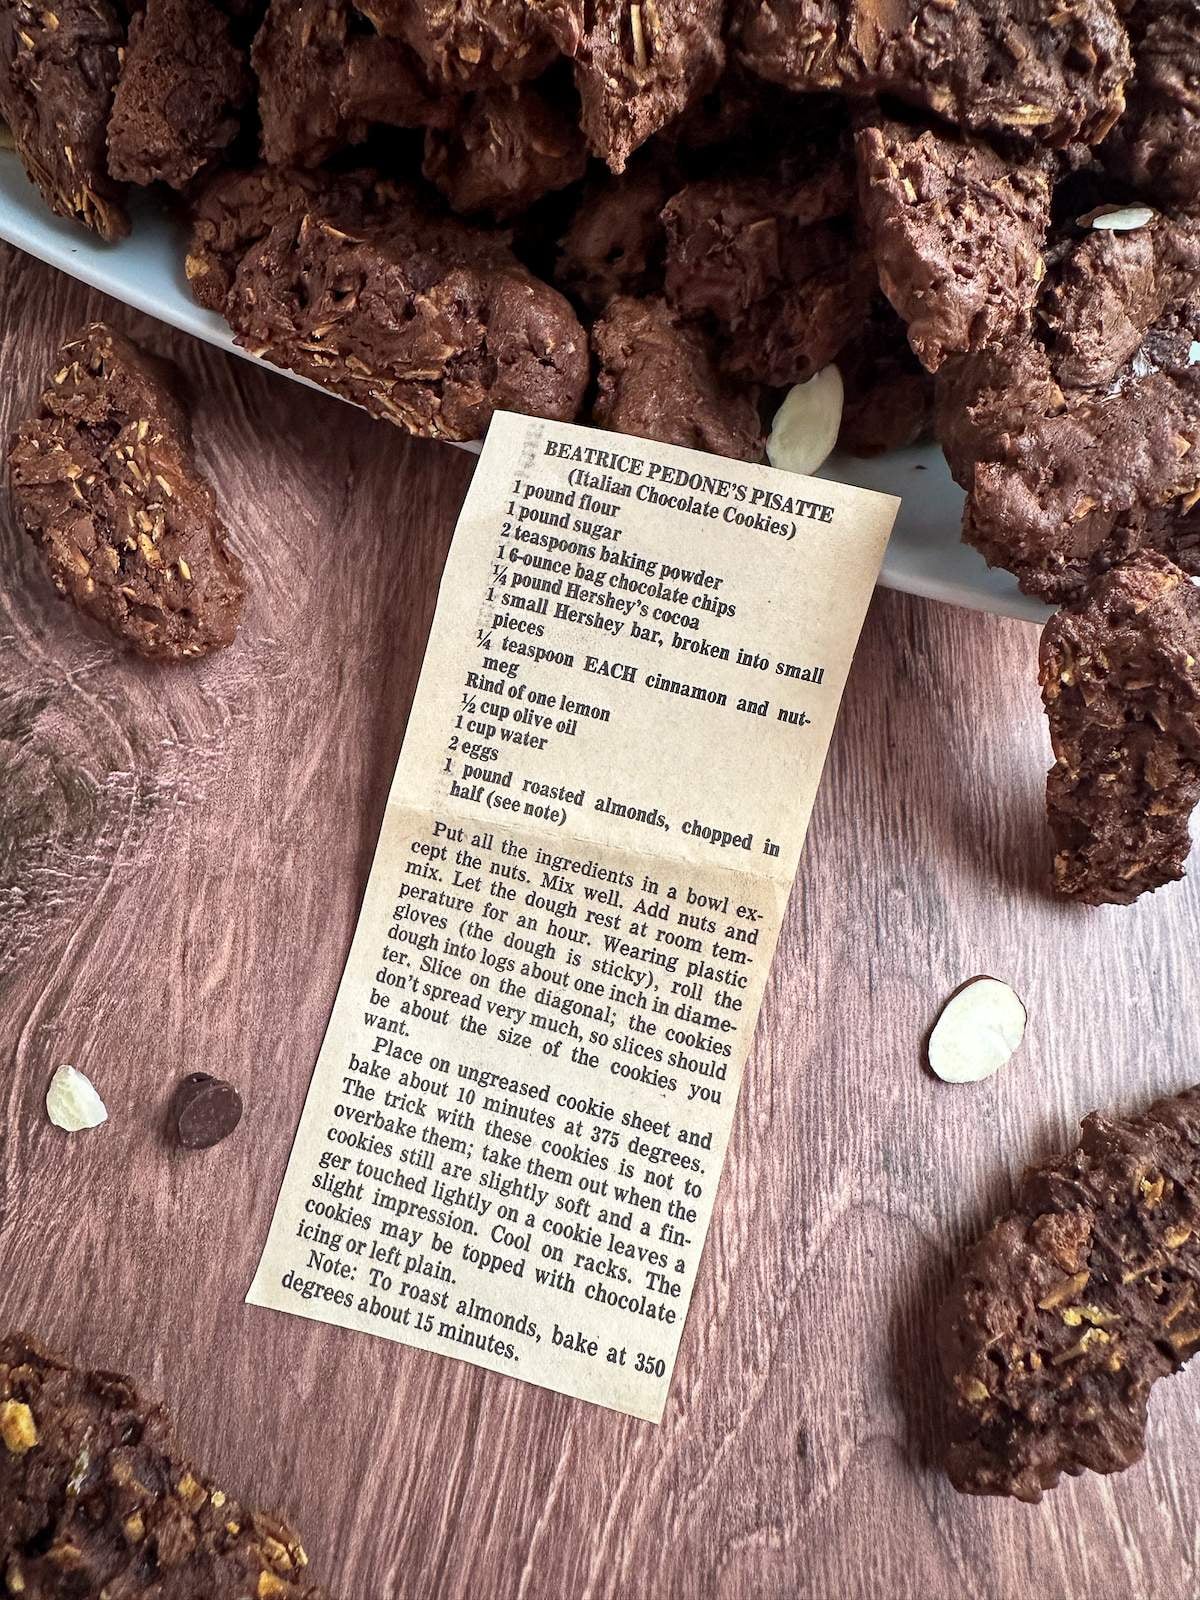
Mystery Recipe Box
These Italian Chocolate Cookies were a fun, relatively easy, and delicious first recipe from the Mystery Recipe Box.
I hope you enjoy being able to see most of the process (including my mistakes) and learning/trying new things with me.
If you’d like to see more, follow Love Mischka on Facebook, Youtube, or Instagram.
I will also post a new recipe from the box here, on LoveMischka.com, every weekend.
How to Make Italian Chocolate Cookies
Equipment
- 1 pair Gloves food-safe
Ingredients
- 1 ¾ cups + 2 ½ Tbsp Flour
- 1 cup + 2 Tbsp Sugar granulated
- 1 teaspoon Baking Powder
- 3 oz Chocolate Chips (a little less than ½ cup)
- ½ cup + 3 Tbsp Cocoa Powder unsweetened
- 1 Hershey Bar (43g)*
- ⅛ teaspoon Cinnamon ground
- ⅛ teaspoon Nutmeg ground
- Rind of ½ Lemon (about 1 Tbsp)
- ¼ cup Olive Oil
- ½ cup Water
- 1 Egg
- 6 oz Sliced Almonds roasted (first step)
Instructions
Roasted Almonds
- Preheat oven to 350°F.
- Line a baking sheet with parchment paper.
- Spread the sliced almonds out, evenly, on the baking sheet.
- Bake for 8-10 minutes.
- Set aside to cool.
Italian Chocolate Cookies
- Preheat oven to 375°F.
- In a large bowl, combine all the ingredients EXCEPT for the almonds. Mix well.
- Add the almonds. Mix again.
- Cover the bowl, that the dough is in, with a lid or plastic wrap. Allow to rest for one hour at room temperature.
- Wearing food-safe gloves**, roll dough into logs that are about one inch in diameter.
- Slice diagonally. For clarity (and a photo) on this, click here to jump to the “Slice on the Diagonal” section.
- Place on an unprepared baking sheet (no parchment paper or oil, I know I was skeptical too).
- Bake for 9-10 minutes. The cookies should still be a little bit soft and a finger should leave a slight impression in them when lightly touched.
- Allow to cool on the baking sheet for 1-2 minutes then transfer to a wire rack to cool completely.
Leave a Reply