This Fruity Pebbles Bar Recipe is incredibly easy-to-make, delightfully delicious, and a unique dessert that the whole family will enjoy.

This post may contain affiliate links. This means, if you click a link and make a purchase, I may earn a small commission at NO extra cost to you. Thank you for any and all support! 💛
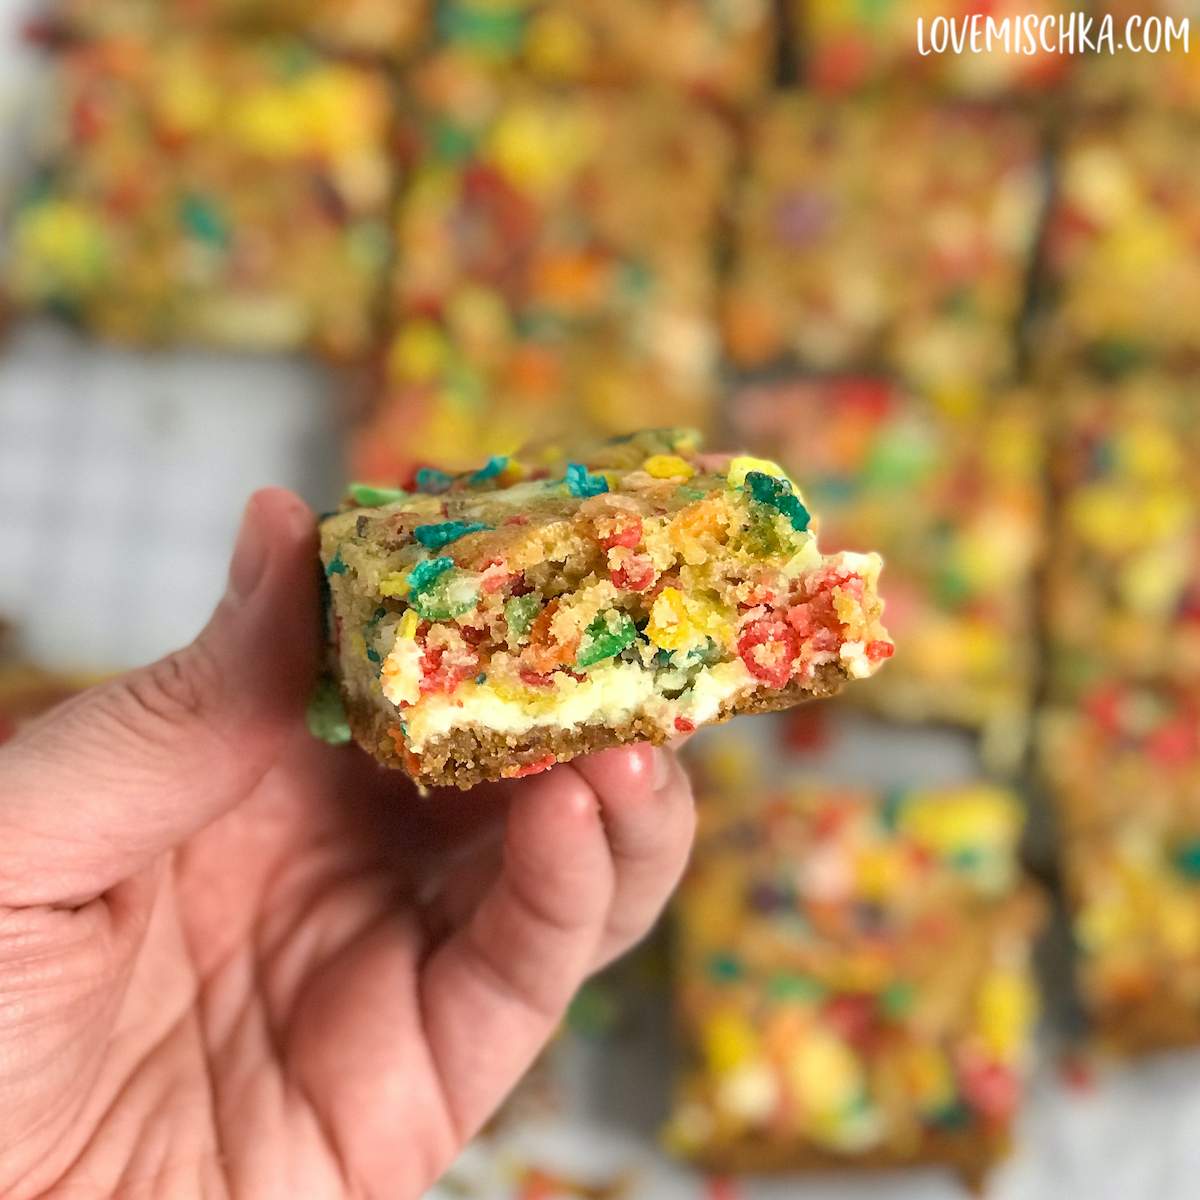
These fun cereal treats have a fruity crust, a creamy cheesecake middle, and a crispy Fruity Pebbles cookie crumble on top.
People who don’t even like Fruity Pebbles cereal have told me that they LOVE these fruity pebbles treats. They are pretty special.
They also feel a little more “adult” than other fruity pebbles recipes that are like classic rice krispies treats with gooey marshmallow.
Not that there is anything wrong with fruity pebbles rice krispie treats. If you want a recipe for those classic marshmallow treats, please let me know and I’ll post one.
I just wanted something different. Something that isn’t overly sweet, but is still bright and colorful with a fun, fruity twist. Something that all generations could enjoy.
These Fruity Pebble Treats are a great way to nostalgically bond with friends and family at birthday parties, holidays, potlucks, or just because.
Like easy cereal recipes? Check out this Fruit Loops Bars Recipe or this Cocoa Puff Cereal Bars Recipe.

Unique Fruity Pebbles Treats Recipe
I originally bought a huge box of Fruity Pebbles to make this Fruity Pebbles Cookie Recipe - Soft, Chewy, & Fun.
Which is also delicious. If you’re looking for more Fruity Pebbles recipes or other cereal treats that kids of all ages will definitely love, I recommend checking it out - Fruity Pebbles Cookies.
This Fruity Pebbles Bar recipe uses a version of that cookie dough for its top layer.
The dough is sprinkled on top of the cheesecake layer then MORE Fruity Pebbles cereal is added around the dough for truly fruity, crispy treats.
I originally planned to make the bottom layer of these Fruity Pebbles Bars be a thick, even layer of Fruity Pebbles Krispie treats. I even bought fresh marshmallows.
BUT, I really wanted to make a cheesecake center. I love cream cheese so much. I also thought the tanginess of cheesecake would compliment the fruity flavor of the cereal. And, it does.

Because of the cheesecake center, these cereal bars need to be refrigerated. Which does not work with classic Rice Krispie Treats or any type of cereal treats that follow the classic recipe.
If you put those treats in the fridge, the marshmallow mixture becomes hard and I didn’t want to chip any more teeth. But, that’s a story for another time.
So, the bottom layer of this Fruity Pebbles Bar recipe is a fruity, graham cracker crust.
It’s just like the classic cheesecake base, except it also has Fruity Pebbles cereal in it!
Looking for more unique dessert recipes? You may like:
- Best Matcha Cookie Recipe - Easy, Soft, and Chewy
- Best Maraschino Cherry Cookies Recipe
- Easy Carrot Cake Bars {Swirled with Cream Cheese}
- Matcha Brownie Recipe {without White Chocolate}
How to Bake Bars
This delicious recipe uses a 9” x 9” baking dish. I use a ceramic one like this Ceramic Coated Non-Stick 9-Inch Square Pan.
You can also use an 8” x 8” pan. You’ll just end up with thicker bars than the ones pictured in this post.
Thick bars just mean more of the fun treat for each person. 😂
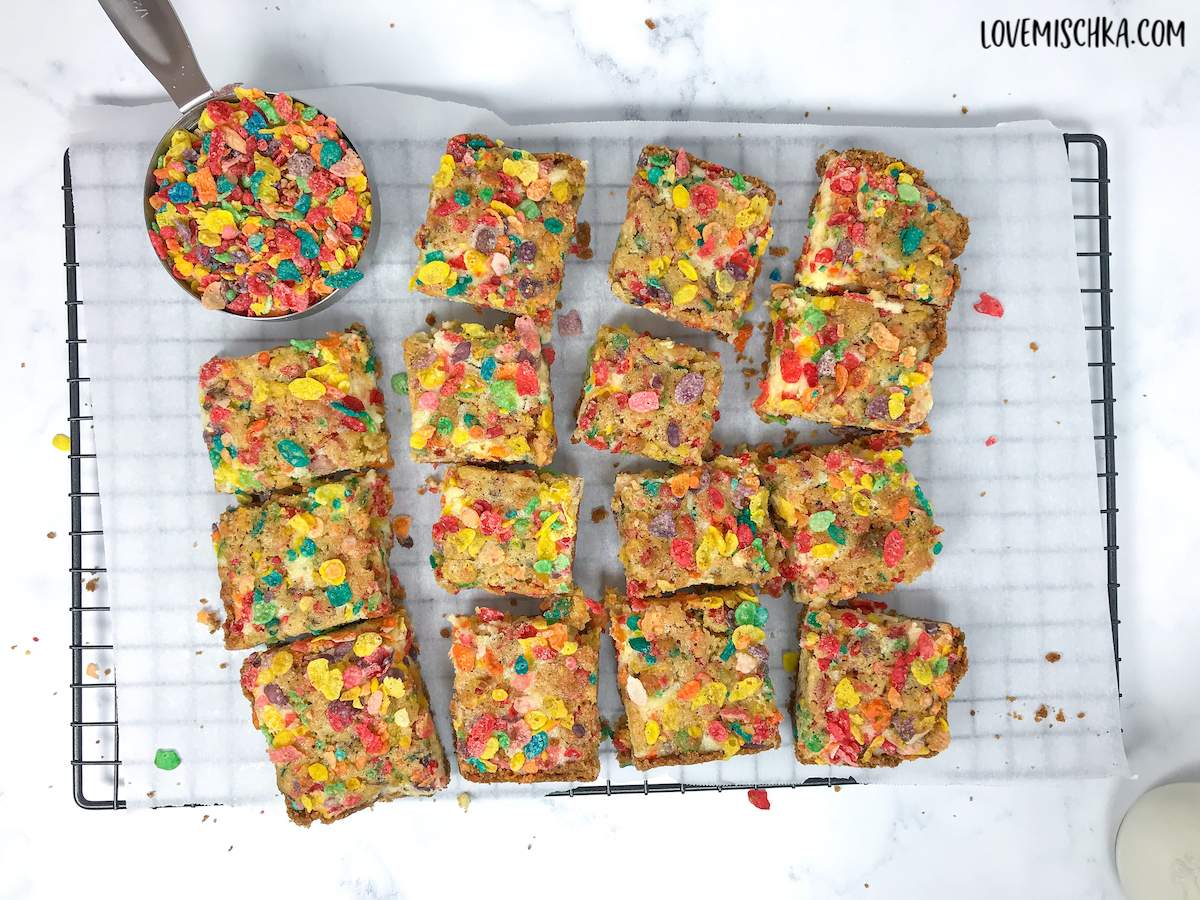
I personally prefer these sweet treats with the thickness shown in the photo below (baked with a 9” x 9” square pan).

If you use a pan that is larger than 9” x 9”, without doubling the recipe, you’ll end up with a much thinner bar. It may also burn.
Another tip for the best fruity pebble bars - bake the dessert in a pan that is lined with parchment paper.
Before adding the first fruity pebbles mixture, line the pan with parchment paper. Pre-cut sheets, like these Reynolds Kitchens Cookie Baking Sheets, make this a little easier to do.
When lining the pan, overhang the parchment paper on two sides. You can later use the sides as handles and simply lift the delicious treat out of the pan.
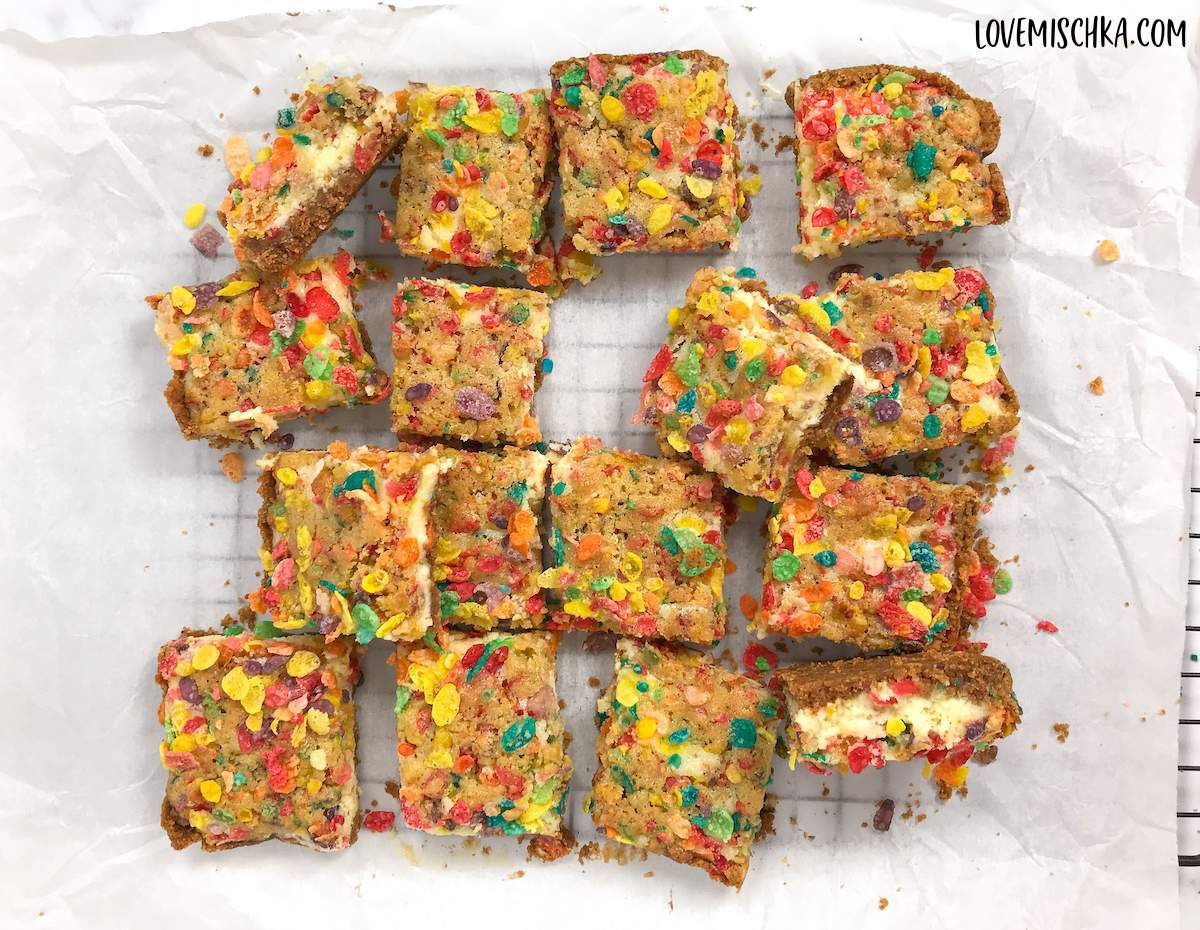
Then, once completely cool, cut the treats into 1 1/2 to 2-inch squares.

How to Store Fruity Pebbles Bars
Store bars in an airtight container in the fridge for up to 4 days.
The Fruity Pebbles Cereal begins to lose its crispy texture after being in the fridge for awhile. The cereal can become a little chewy after some time.
Surprisingly, we’ve eaten these Fruity Pebbles Bars after four days and they still weren’t soggy. (I needed to test it).
But, for the best flavor and texture, I recommend eating the bars within a few days of baking them.

LET’S CONNECT: PINTEREST - FACEBOOK - INSTAGRAM - TIKTOK
Fruity Pebbles Bar Recipe
Ingredients
Crust (First Layer)
- 1 1/4 cups Graham Cracker Crumbs
- 2 Tbsp Brown Sugar packed
- 6 Tbsp Unsalted Butter melted
- 1/4 cup Fruity Pebbles Cereal
Cheesecake Layer
- 8 oz Cream Cheese room temperature
- 1/2 cup Sugar granulated
- 1 Egg large
- 1 tsp Vanilla Extract
Fruity Pebbles Cookie Crumble and Cereal Layer
- 1/4 cup Unsalted Butter room temperature
- 1/4 cup Brown Sugar
- 1 Egg large
- 1/2 tsp Vanilla Extract
- 1/2 cup Flour
- 1/8 tsp Baking Soda
- 1 cup Fruity Pebbles Cereal divided*
Instructions
- Preheat oven to 350°F.
- Prepare a 9” x 9” square pan with parchment paper. Leave some parchment paper on two sides that you can later use as handles to lift the dessert out of the baking dish.
Crust
- In a large bowl, combine the graham cracker crumbs and brown sugar.
- In a microwave-safe bowl, melt butter. Add melted butter to the graham cracker and sugar mixture. Mix.
- Carefully mix in the Fruity Pebbles cereal. Set aside.
Cheesecake Layer
- In a medium bowl, add the softened cream cheese and sugar.
- Mix with an electric mixer until smooth and creamy.
- Add the egg and vanilla extract. Mix again. Put aside.
Cookie Crumble
- In a separate medium bowl, cream the softened butter and sugar together.
- Add the egg and vanilla extract. Mix.
- Add the flour and baking soda. Mix again.
- Add 3/4 cup of Fruity Pebbles Cereal and mix until just combined. Set aside.
Assembly + Bake
- Spread crust mixture into the prepared pan. Press mixture firmly to the bottom of the pan and a little bit up the sides of the pan.
- Pour cheesecake mixture over the crust. Spread and smooth with a spatula.
- Sprinkle the cookie dough on top of the cheesecake mixture. It should not cover completely. Gaps will be filled with more cereal.
- Fill any and all gaps in the top layer with the 1/4 cup of Fruity Pebbles Cereal. Any remaining cereal can be sprinkled wherever you want more color and crisp.
- Bake treats for about 25 minutes or until the top is golden brown and an inserted toothpick comes out clean.
- Allow to cool in the pan for at least 30 minutes.
- Use “handles” (overhanging parchment paper) to carefully lift the dessert out of the pan and onto a cutting board.
- Slice into 1 1/2 to 2-inch squares.
- Serve, enjoy, or store in an airtight container and put in the fridge.
Notes
If you made this recipe, I’d love to hear how it came out! Please rate and leave a comment below.

Leave a Reply