
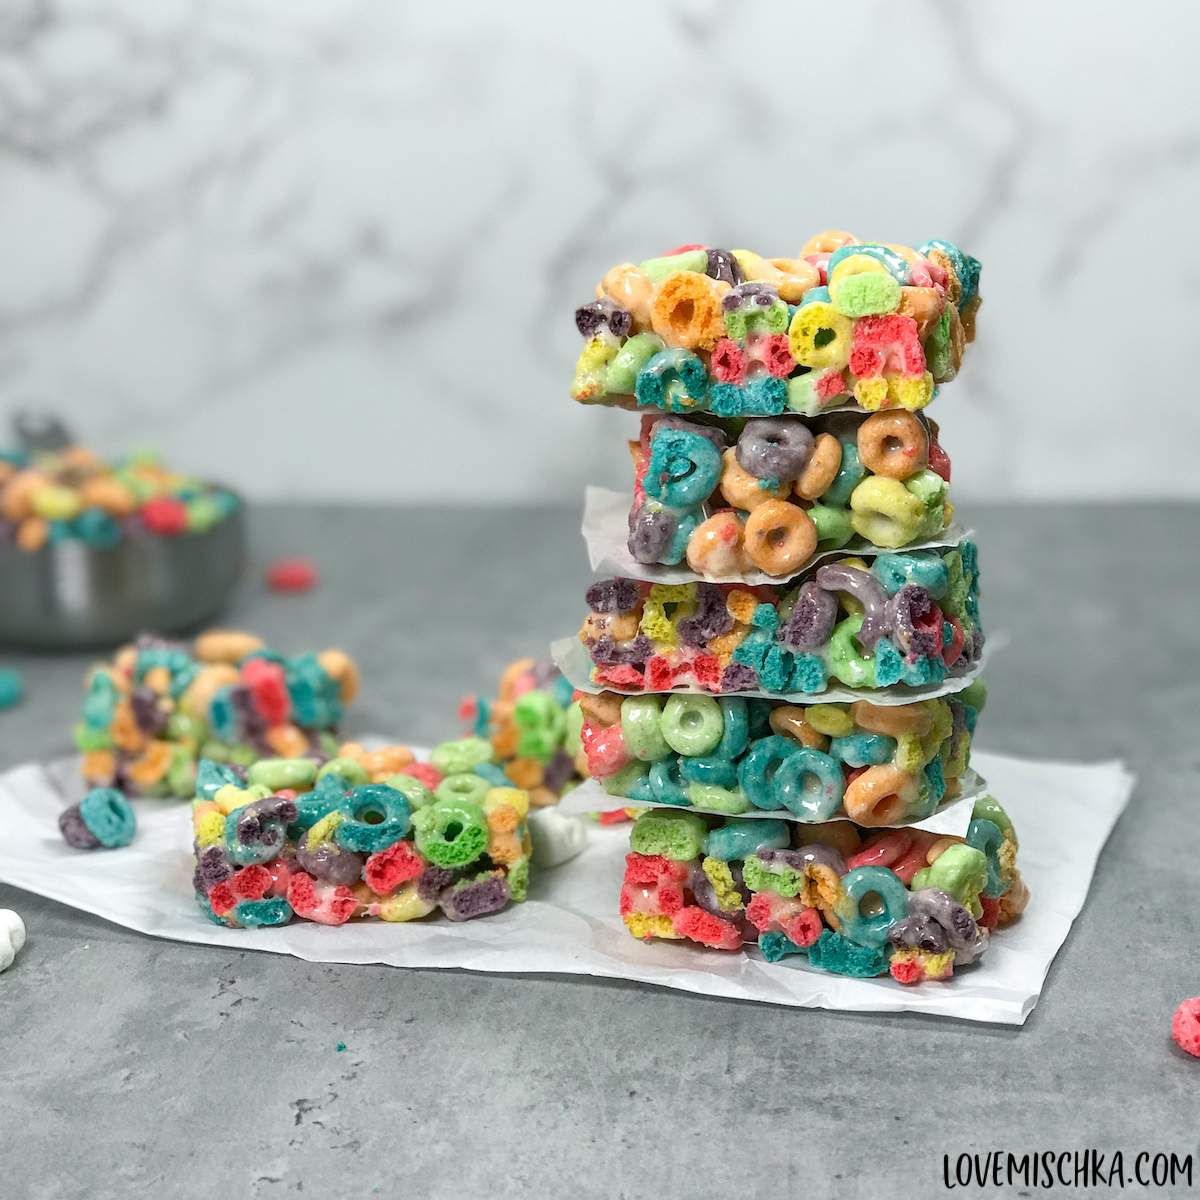
This super easy and quick Fruit Loops Bars Recipe is a fun, fruity twist on traditional rice krispie treats. Kids will love to make and devour these no bake cereal treats. They’re perfect for school snacks, holidays, kids’ parties, or just an afternoon of fun!
This post may contain affiliate links. This means, if you click a link and make a purchase, I may earn a small commission at NO extra cost to you. Thank you for any and all support. 🌈
I have always liked to make rice krispies treats. As a kid, my mom and I made them into little orange pumpkin treats for Halloween. I even brought them to school to share with the whole class.
I remember the experience so vividly and wish my mom was still here so we could do it again or I could at least share how wonderful it was for me.
These fruit loop marshmallow treats are the perfect way to spend time with the little ones in your life and make some precious memories that they may cherish forever.
Or, at the very least, you’ll all have a fantastic day with yummy, fun treats.
Froot Loops Cereal Bars
First, we need to talk about the elephant in the room… Fruit Loops are actually named, “Froot Loops”.
In this post, I’ll be switching back and forth between both names because SO many people, myself included, call Froot Loops Cereal, “Fruit Loops”.
Calling it by the wrong, yet similar, name seems to bother some people though.
Who knew the colorful cereal could cause such controversy?
Ingredients
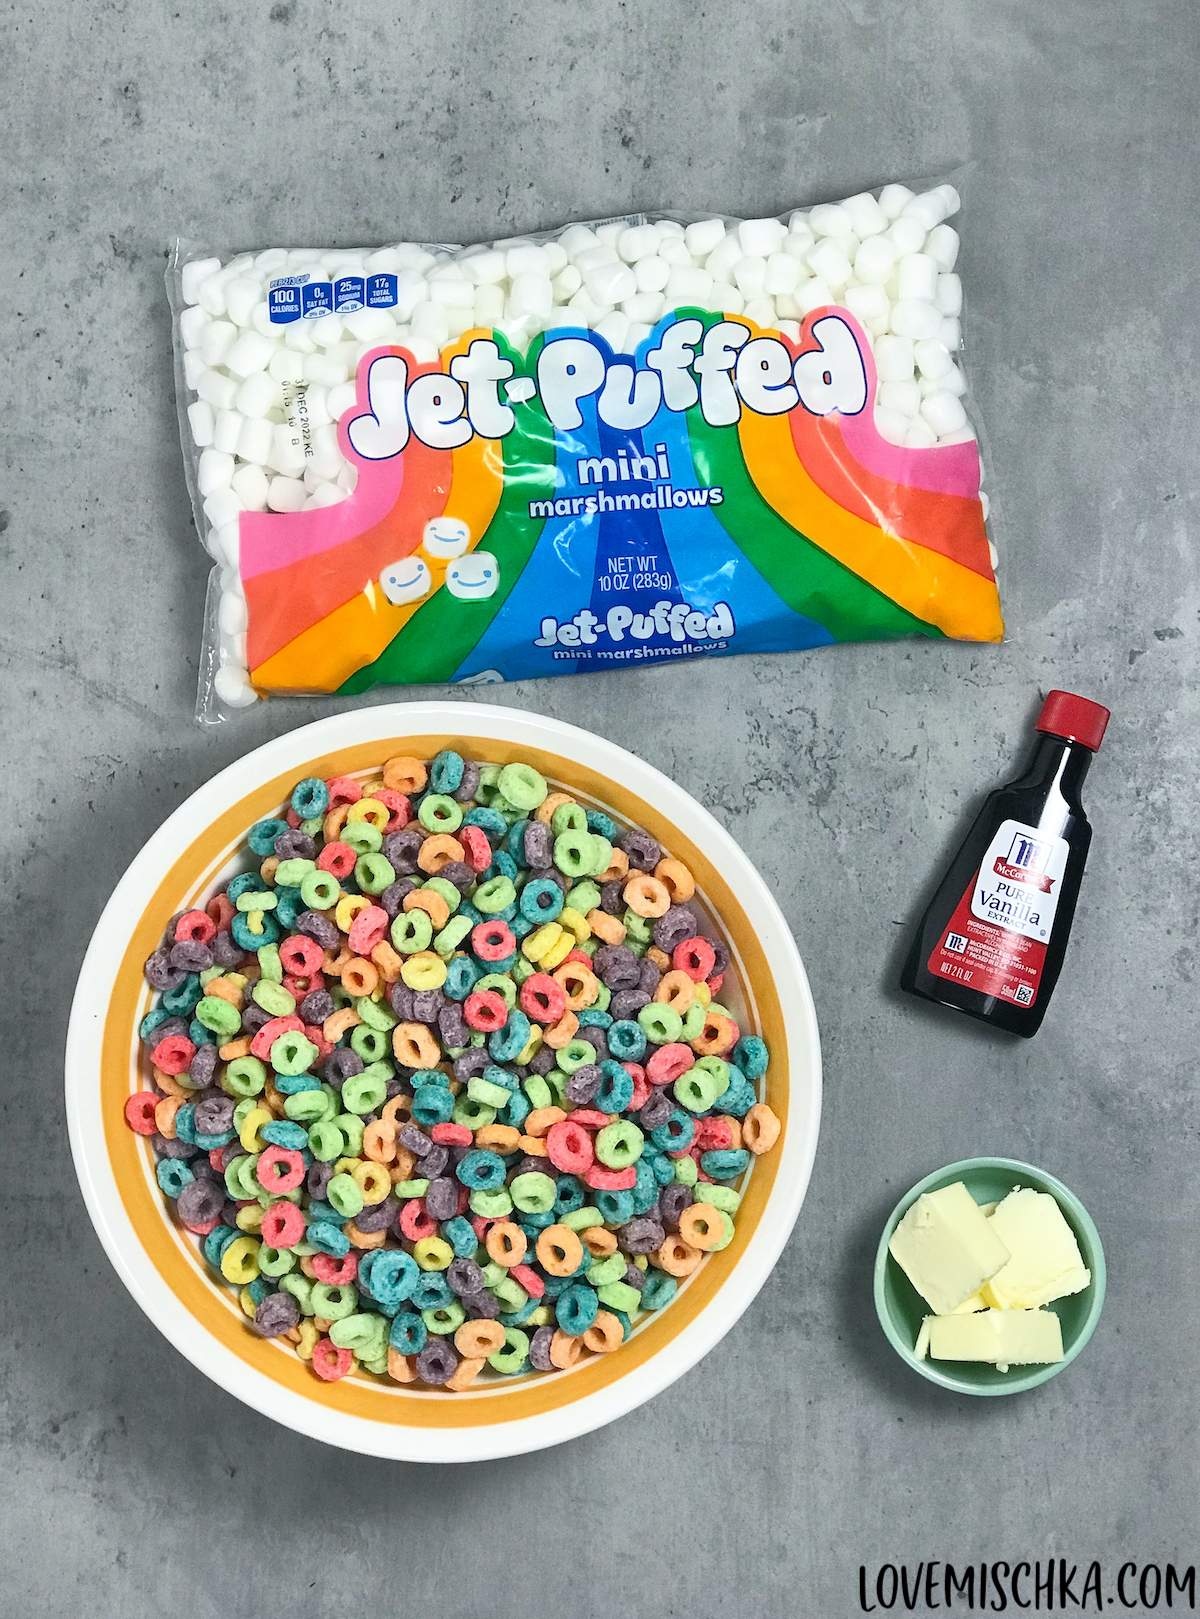
These froot loop cereal bars only require four ingredients.
Froot Loops Cereal
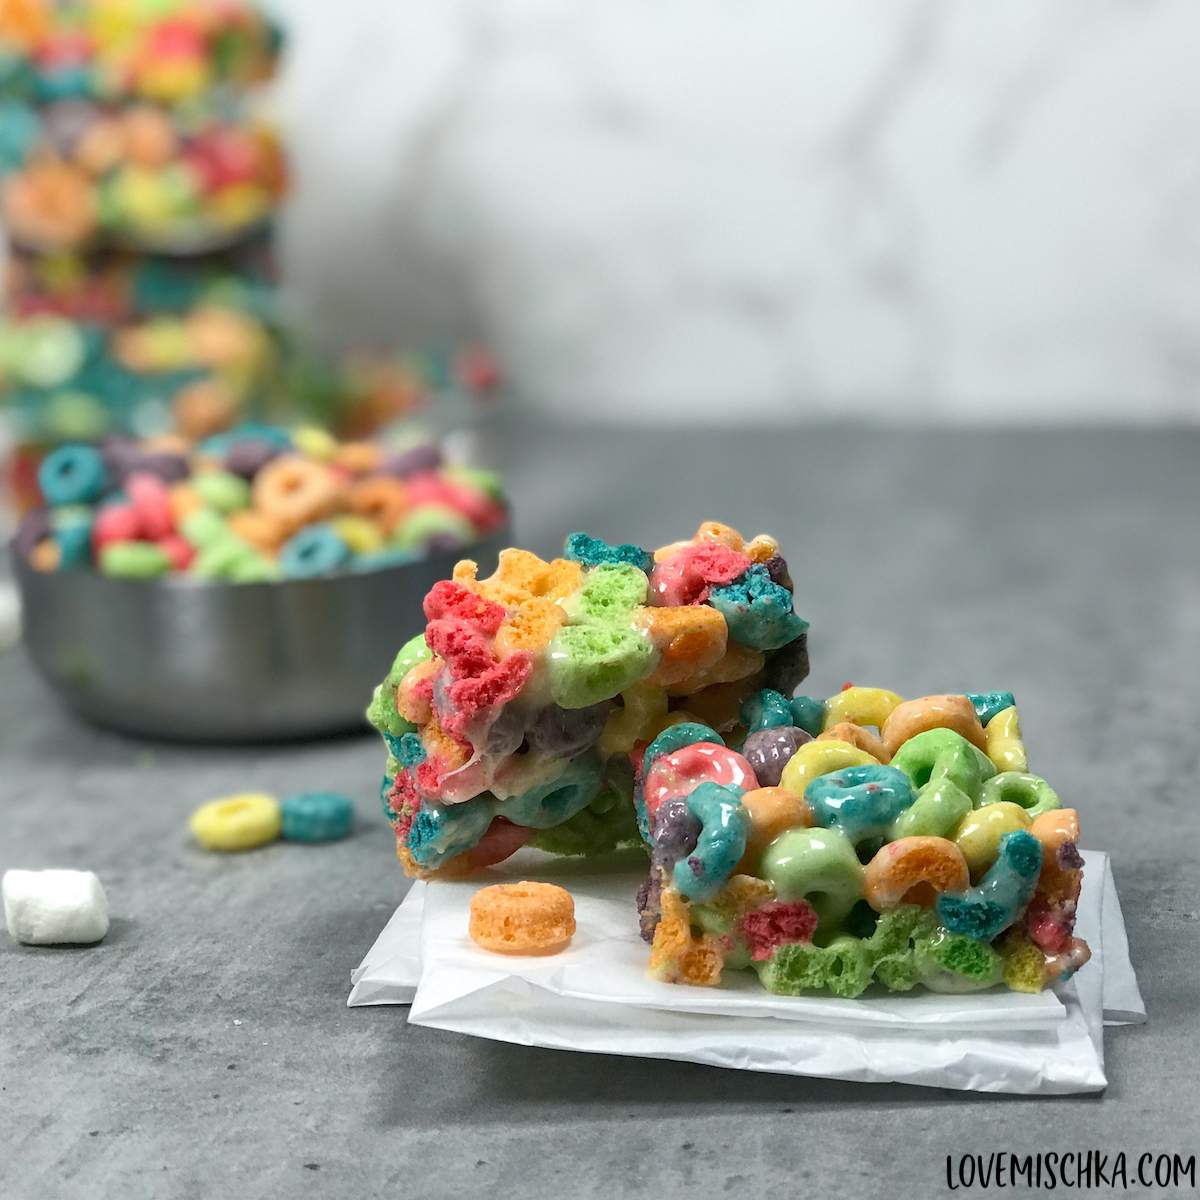
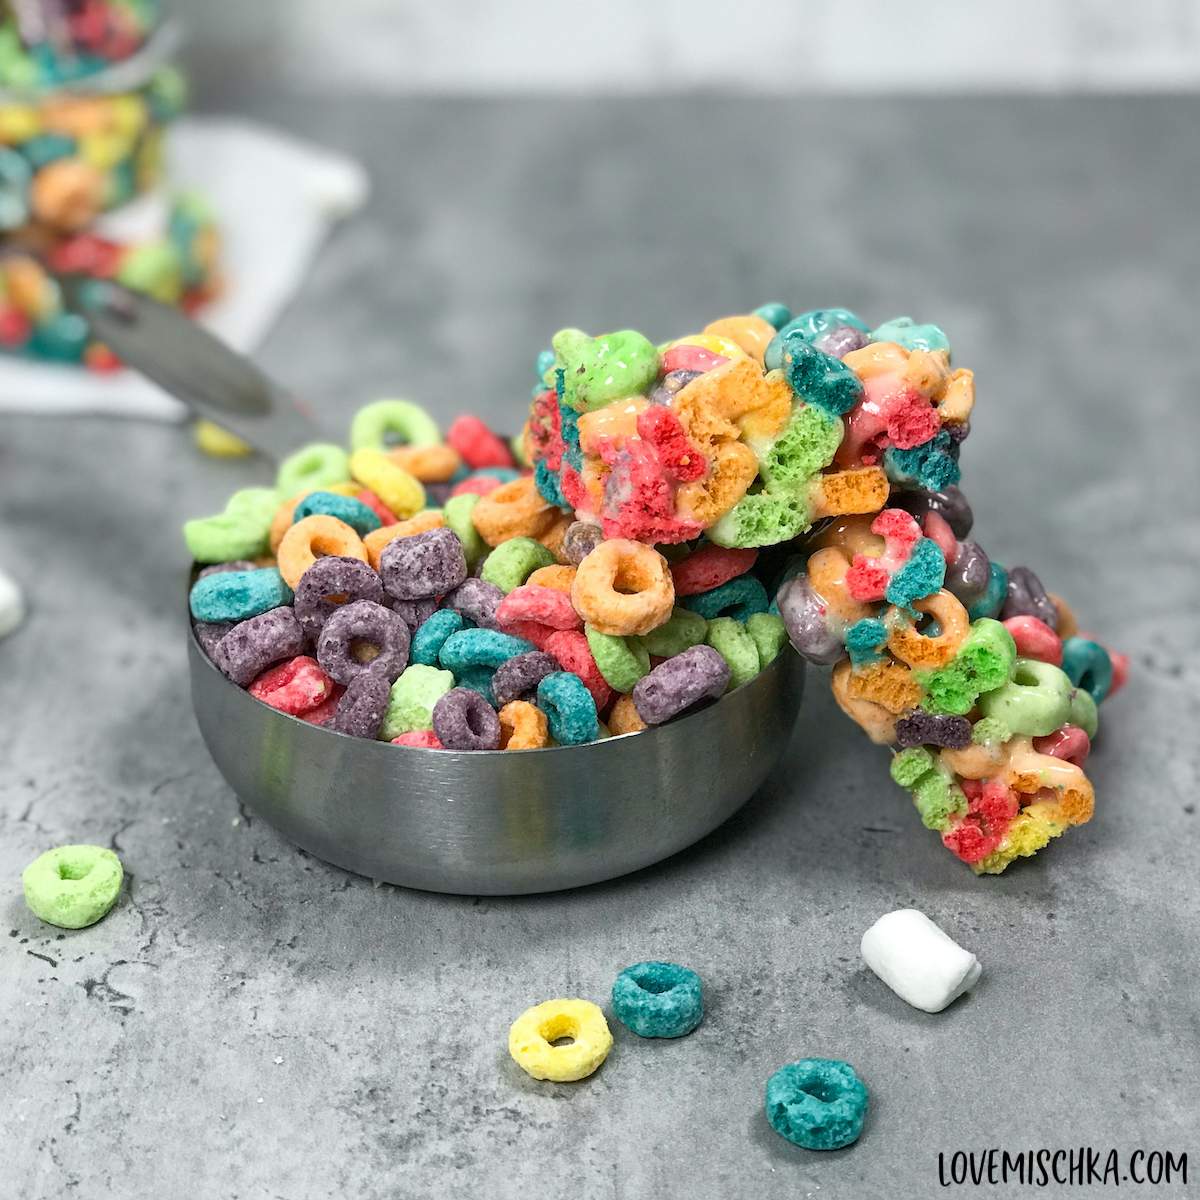
The bright colors of this cereal are what make these rainbow fruit loop treats extra fun and the perfect treat for kids or any celebration.
You can substitute it for one of your favorite cereals though.
Fruity Pebbles works well! And they still make rainbow treats!
If you love Fruity Pebbles cereal, you should check out these Fruity Pebbles Bars and these Fruity Pebbles Cookies.
Marshmallows
I learned the hard way that fresh Jet-Puffed Mini Marshmallows are the absolute BEST marshmallows for this fruit loops bars recipe.
Last time I made these fruit loop bars, I used store-brand, big marshmallows that we bought a few months ago (for camping). They refused to melt and were way too sticky. I just had a big glob of marshmallow.
I threw that batch away and bought Jet-Puffed Mini Marshmallows. They quickly melted into beautiful, gooey marshmallows.
The kind that make the perfect marshmallow mixture for cereal treats.
Butter
Just a bit of butter for the marshmallow mixture.
I like to use salted butter to help balance and enhance all the fun flavors.
Vanilla Extract
Vanilla extract elevates this fruit loops bars recipe and makes it absolutely delicious, even for adults. We couldn’t stop eating them.
Without it, fruit loop bars seem to be missing something.
Optional Additions
Some people like to drizzle melted white chocolate onto their fruit loops treats.
Candy sprinkles on top of the traditional squares would also be a fun addition.
If adding sprinkles, I recommend doing it as soon as you add the mixture to a baking pan. They’ll adhere to the sticky marshmallows.
How do you make a fruit loop bar?
A fruit loop bar is made just like classic rice krispie treats.
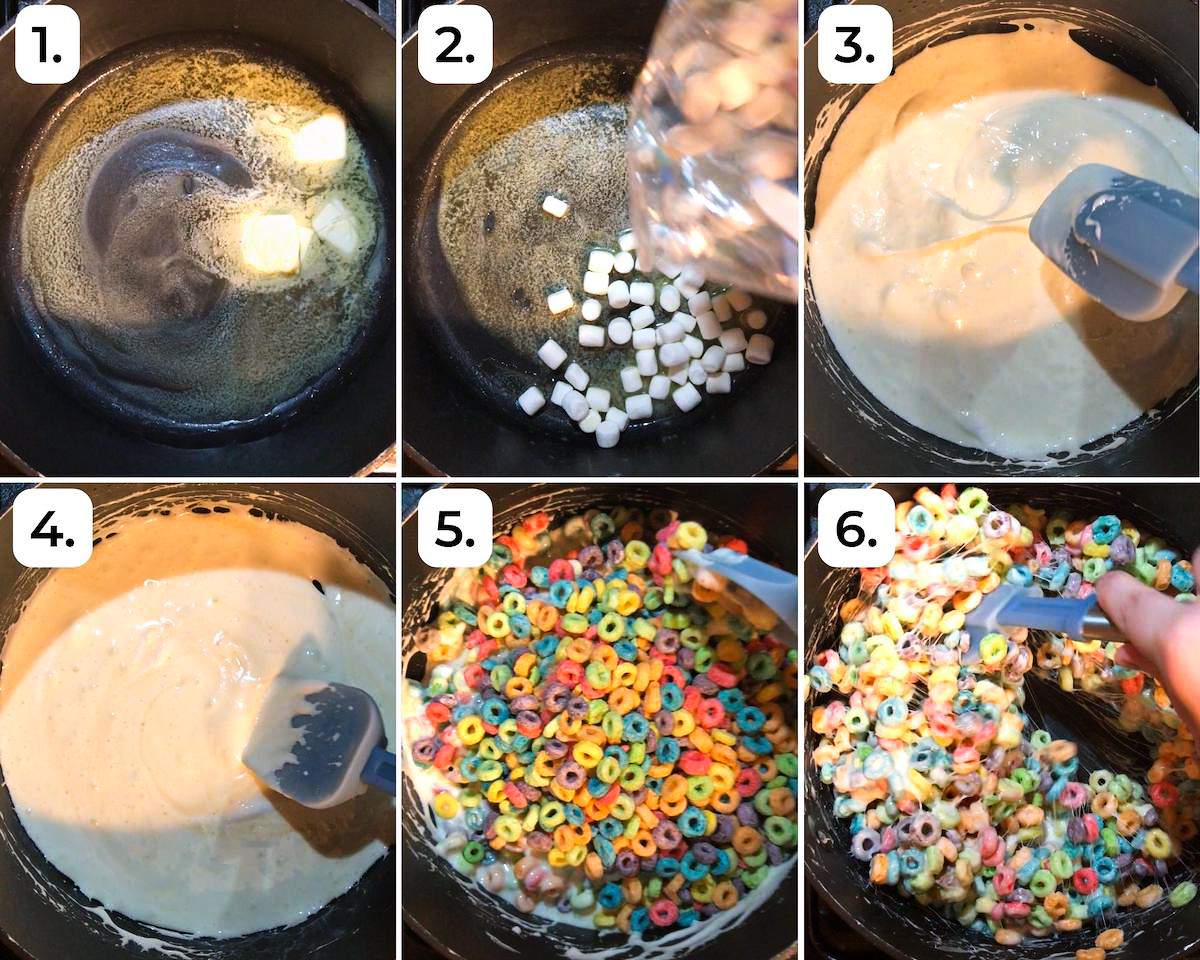
First (picture #1 above), melt the butter in a medium-large pot over medium-low heat.
Add the marshmallows (#2). Stir often until melted (#3). Do not overheat the marshmallows. This will lead to hard treats.
Once melted, remove from heat and stir in the vanilla extract (#4).
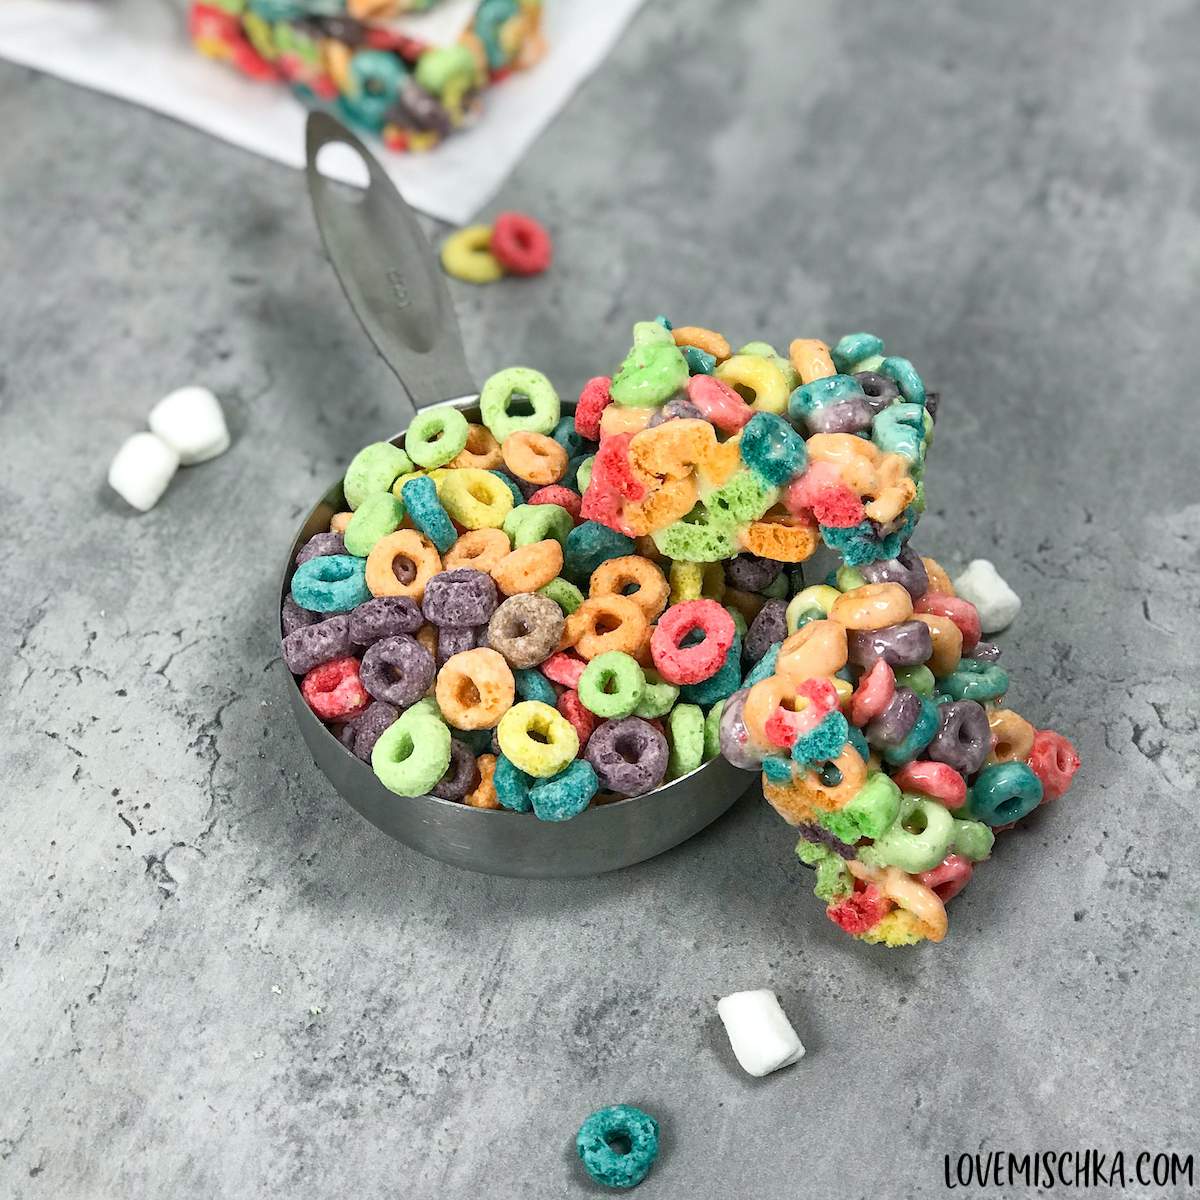
Mix in the Froot Loops Cereal (#5).
Stir until all the fruit loops are covered in sticky, gooey marshmallow goodness (#6).
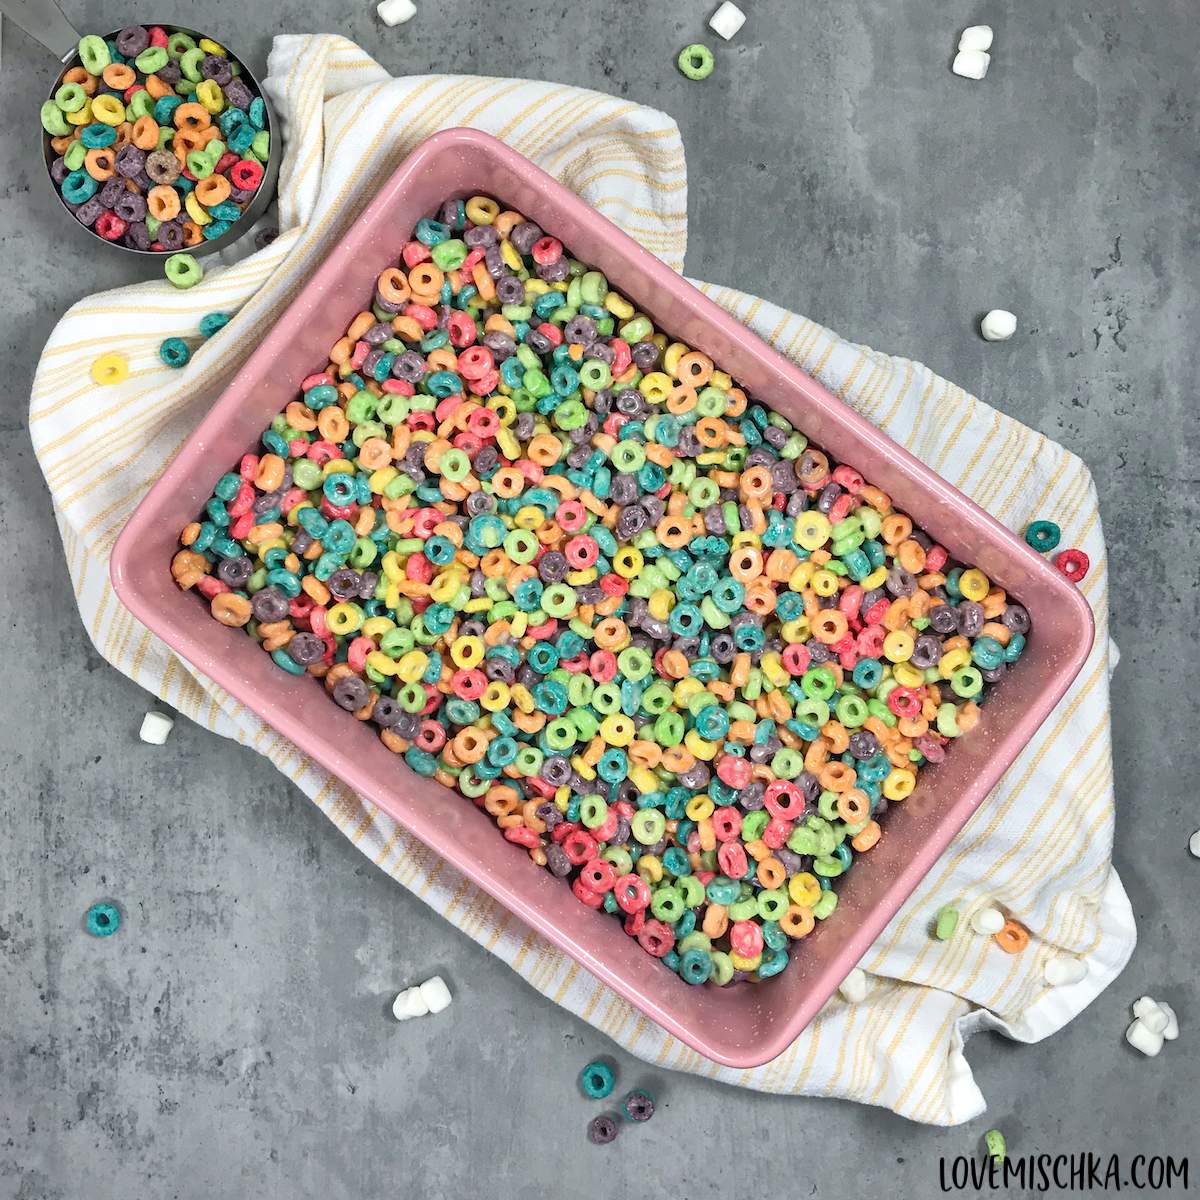
Pour the mixture into a prepared baking pan. You can gently press it into the pan. Just be careful not to press too hard because it can lead to compact, hard cereal treats.
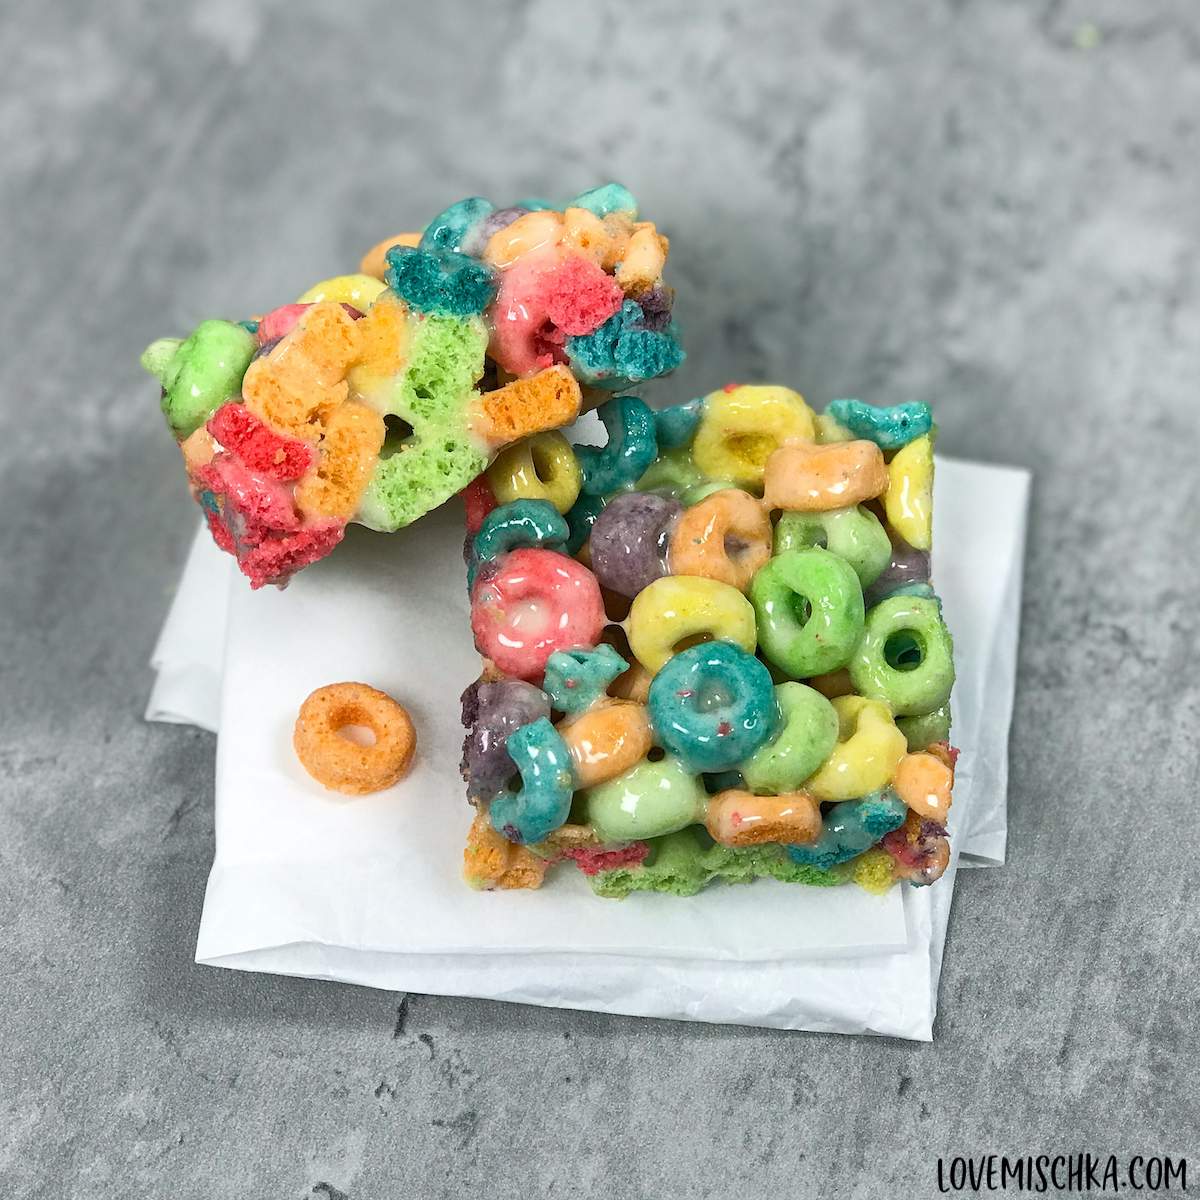
Allow to cool completely before cutting into squares. This is the hardest part. 😂
Which size baking pan should I use?
I used a 13” x 9" baking pan for the Fruit Loop cereal bars in the photos.
For thick bars, like these Cocoa Puff Cereal Bars, use a 9” x 9” baking pan.
Prepare the pan, before using, with cooking spray, oil, or parchment paper so you can easily remove the treats later.
How long do these cereal treats last?
These Fruit Loops Bars will last for up to 5 days when stored in an airtight container at room temperature.
After 3-4 days, they start to harden a bit. They’re still delicious. Just not as fresh and gooey.
One of my favorite things about these treats is the unique texture combination of crunchy from the cereal and gooey from the melted marshmallows.
This combo seems to be best within 24 hours of making the fruit loop treats.
If you like simple, fun recipes, you should check out:
- No Chill Sugar Cookie Recipe
- Fruity Pebbles Cookie Recipe
- Hot Cocoa Cookies (made with hot chocolate mix)

Fruit Loops Bars Recipe
Ingredients
- 4 tablespoon Butter salted
- 10 oz Mini Marshmallows
- 1 teaspoon Vanilla Extract
- 6 cups Froot Loops Cereal
Instructions
- Prepare a baking pan with cooking spray, oil, or parchment paper. Set aside.
- In a medium-large saucepan, melt the butter on medium-low heat.
- Add the marshmallows. Stir frequently until melted.
- Once melted, remove from heat and mix in the vanilla extract.
- Add the cereal and stir until it’s completely coated in the marshmallow mixture.
- Pour the mixture into the prepared baking pan. You can also gently press it into the pan.
- Allow to cool completely then slice into squares.
- Enjoy!
Notes
If you make and like this recipe, please leave a rating or comment below!
Feel free to share it on social media. If you post a photo, I’d love to see it! Tag @lovemischka on Pinterest, FB, or Insta.

Leave a Reply