
Learn how to make easy, cheap, adorable DIY Tissue Paper Flowers with this detailed guide. They’re perfect for DIY spring/summer decor, fun centerpieces, baby showers, bridal showers, or to do as a relaxing activity.
This post contains affiliate links. This means, if you click a link and make a purchase, I may receive a small commission at NO extra cost to you. I only recommend products that I use and love. Thanks! :o)
I have been making DIY Tissue Paper Flowers for YEARS. It’s actually the key piece to my popular Flamingo Centerpiece. You can check out that guide here - DIY Flamingo Centerpiece with Tissue Paper Pom Poms .
Since most of us are currently staying in, I wanted to make a fun, cute, DIY guide that uses something many people already have in their homes… TISSUE PAPER.
These adorable flowers are made with tissue paper, something to tie them with, and a stick. That’s it.
For another easy DIY project, check out - How to Tie Dye Socks.
DIY Tissue Paper Flowers
I LOVE making paper flowers. I’ve always found the process to be relaxing. It used to be my favorite way to relieve stress…. And procrastinate.
Over the years, I became very good at them. People would ask me to make bouquets. My best friend used a bunch of them for her wedding rehearsal. They’re cute, long-lasting, and don’t require any water. What’s not to love!
Cheap Spring Decor
Currently, most people around the world are safely staying in their homes. These flowers are easy to do with materials that most people already have. They can also bring a little cheer, light, and freshness into our lives, which I admit I have definitely needed.
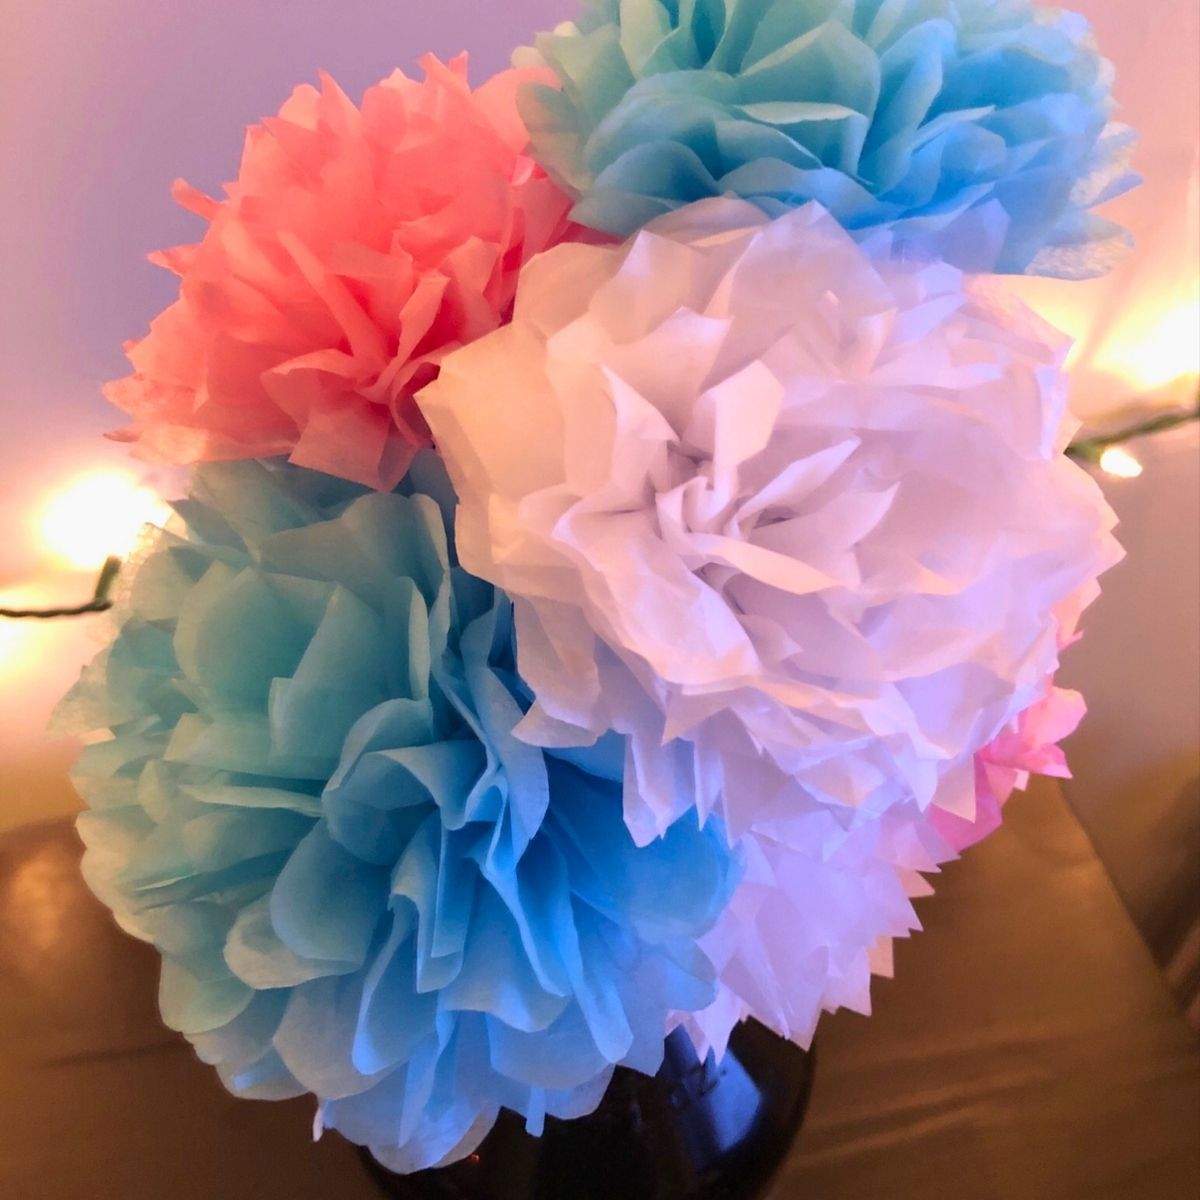
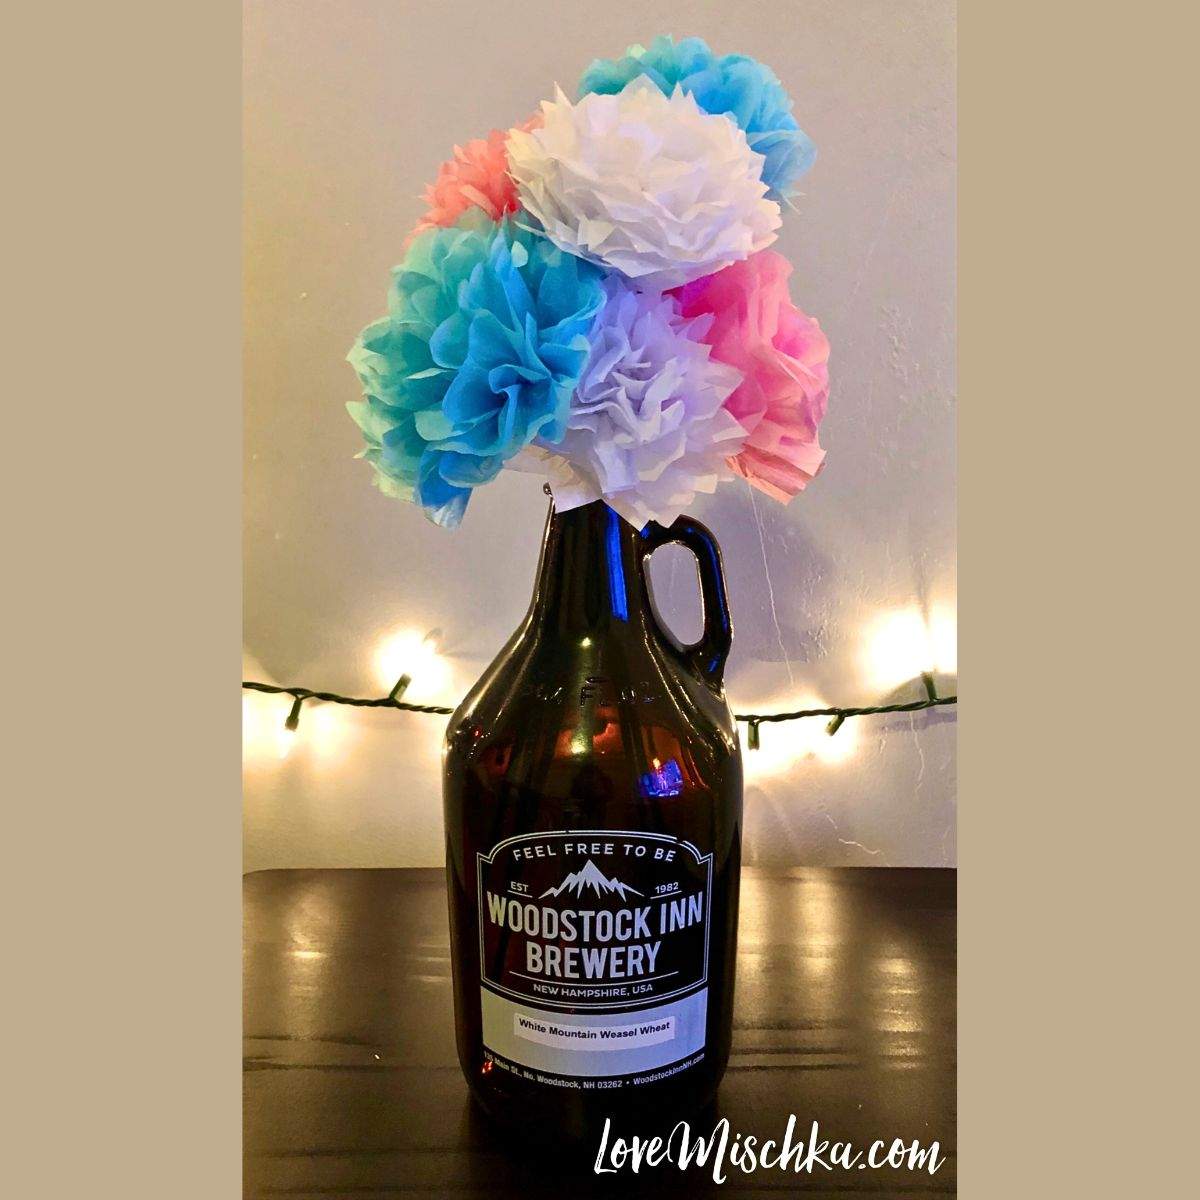
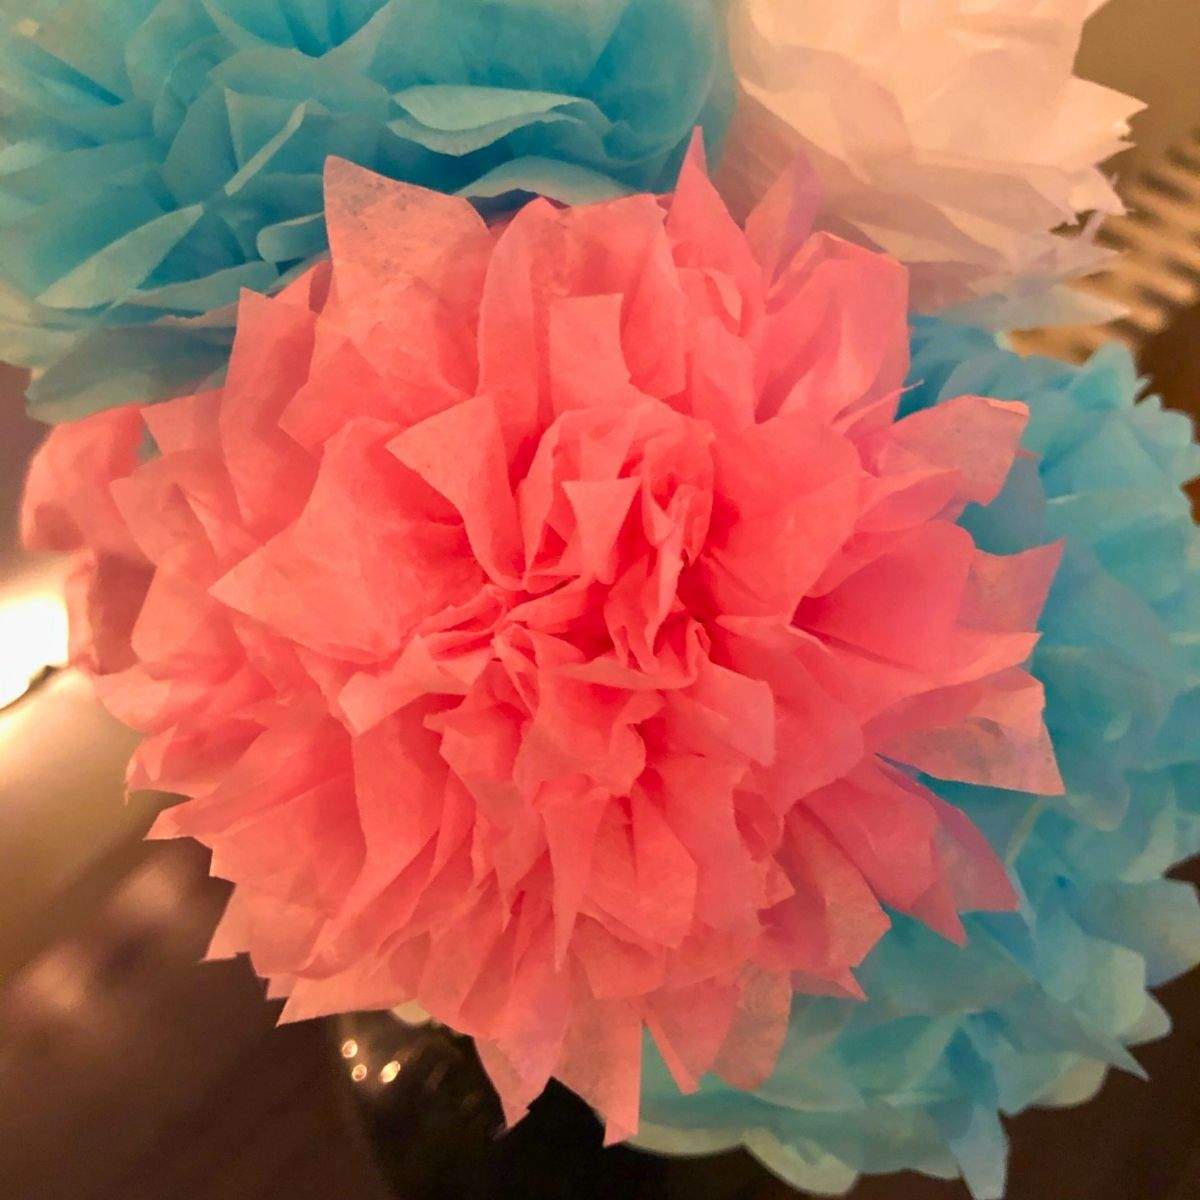
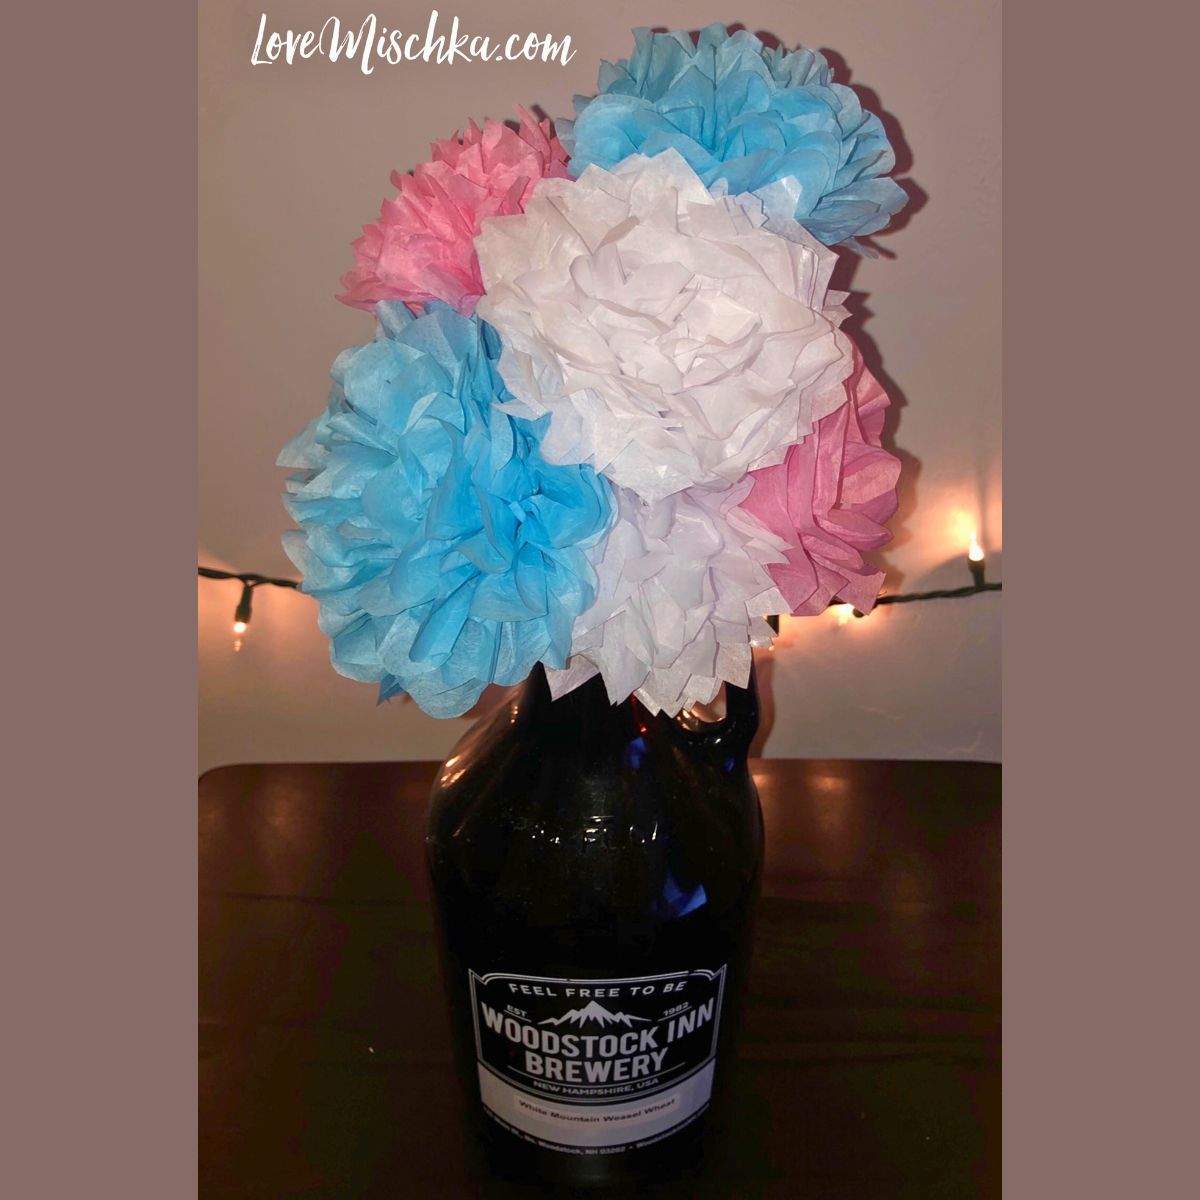
I focused on making a spring bouquet. It was quick, easy, and relaxing. I used tissue paper that came in a baby shower tissue paper pack from DollarTree. Pink, blue, and white were enough to add some spring feeling to my console table.
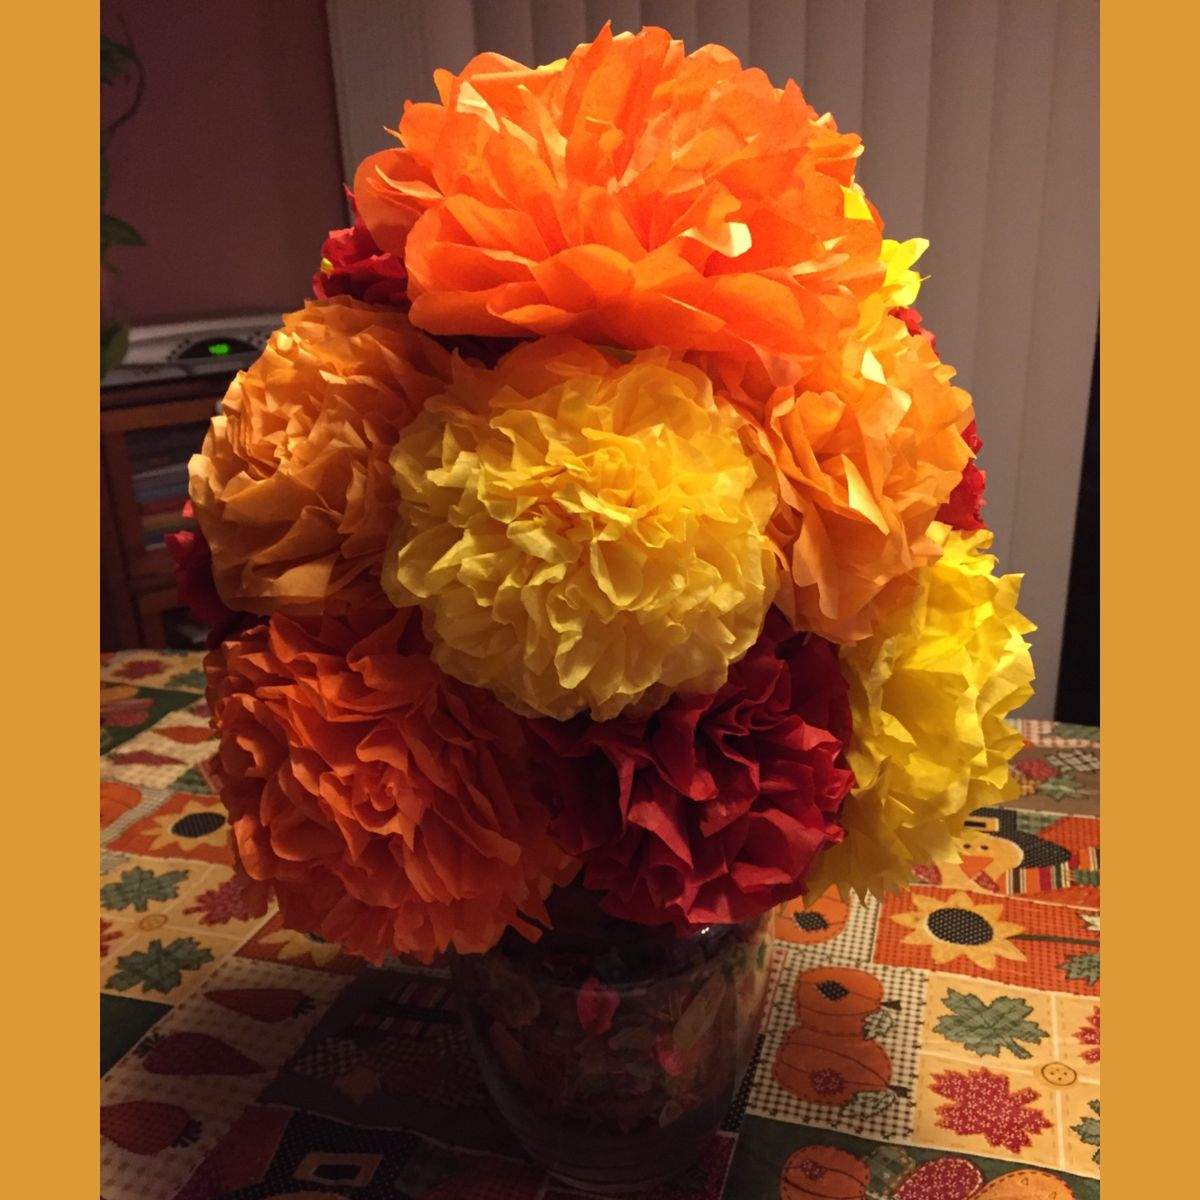
You can also make these flowers for any other occasion as well. Here is a centerpiece I made for Thanksgiving.
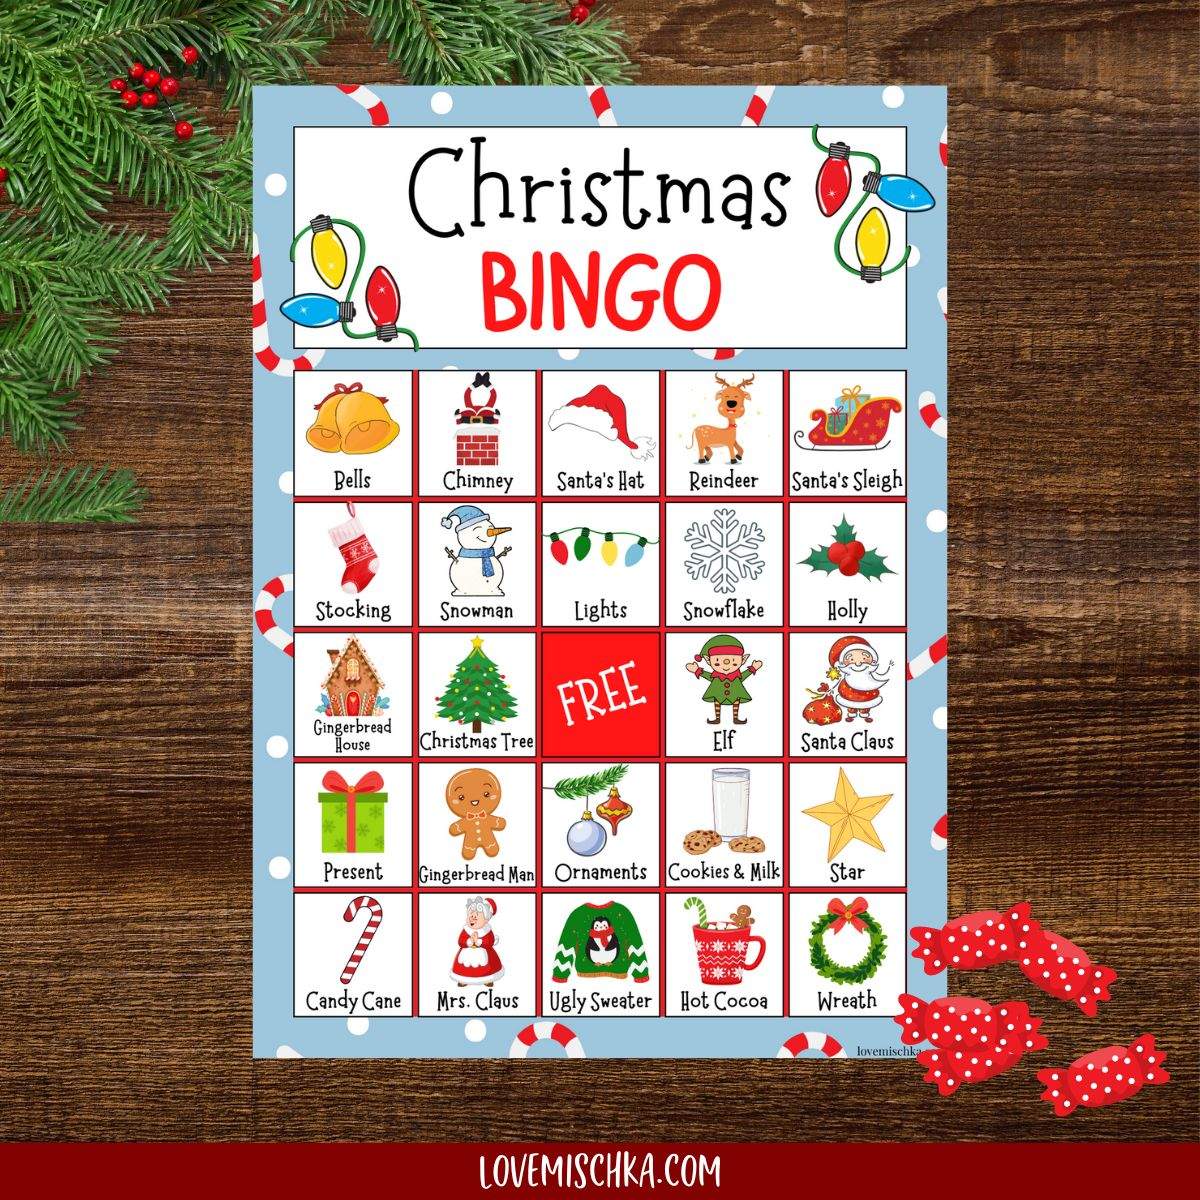
Here is one for Christmas.

You can also use paper with prints like I did in the Christmas bouquet. Just have fun with it, relax, and enjoy.
Materials Needed
Tissue Paper - If you do not already have this, I recommend buying some from DollarTree. Hobby Lobby has this ADORABLE mint green tissue paper that I wished I had in the house.
Scissors - I swear by Martha Stewart’s Precision Scissors (Unfortunately, I can't find a store that still sells them. But, I included a link so you can still see them. If you find similar ones, please let us know!) I rave about them in most of my DIY Guides (Easy DIY Printable Goodie Bags & DIY Flamingo Centerpiece with Tissue Paper Pom Poms). They really are amazing. I wouldn’t do crafts without them.
Flower Wire - If you don’t have flower wire in the house, you can use ribbon or tie wraps. If you’re interested in flower wire, I use Darice Paddle Wire.
Sticks - I use green, wood plant stakes. Like, these floral picks by Royal Imports. You could use a straw, a pencil, a stick from outside... Whatever works for you.
How to Make DIY Tissue Paper Flowers
First, how big you cut the tissue paper is how big your flower will be (obviously). I prefer to use 6 layered sheets of tissue paper that are 5” x 5”. This leads to a natural-sized paper flower.
We will discuss how to make different sizes later. For now, let’s cut the tissue paper into 5” x 5” squares. It’s easier.
You will need at least 6 sheets of 5” x 5” tissue paper squares. Layer them.
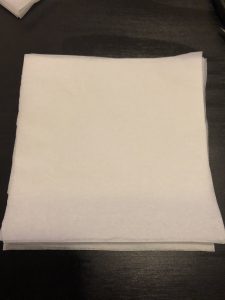
Step 1 - Fold the tissue paper like an accordion or fan. Fold up, vertically, about one inch. Flip the tissue paper over. Fold another inch up, vertically. Make sure the folds are the same size and the ends match. Keep doing this until your tissue paper looks like the following.
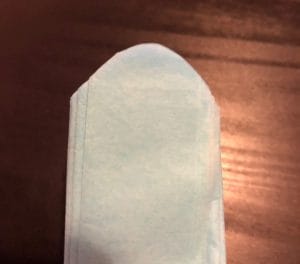
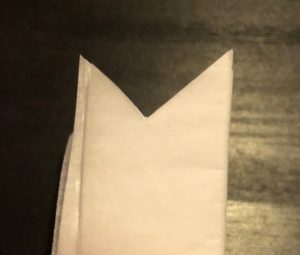
Step 2 - Cut each end like a V. Different designs on the ends lead to different looking flowers. I will demonstrate this later.
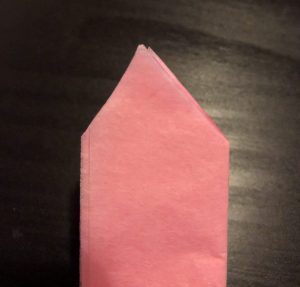
Step 3 - Fold the folded strip of tissue paper in half. Wrap a small piece of flower wire (or ribbon) around the middle. Secure it.
It should look like this.
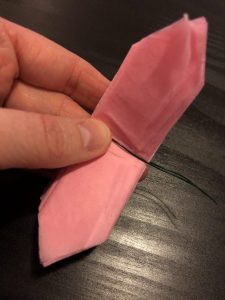
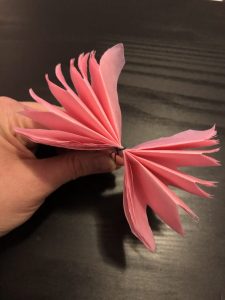
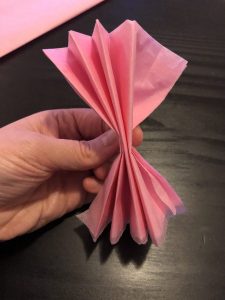
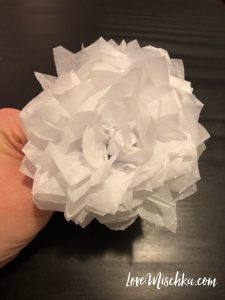
Step 4 - CAREFULLY pull up the layers.
PLEASE be careful during this step. Tissue paper can rip very easily. Also, if the tie isn’t secured tight enough around the middle, the tissue paper can pull OUT of the other side. This will create a top-sided flower.
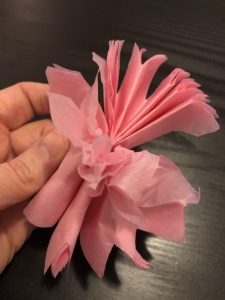
CAREFULLY pull up each layer, apart from the bottom layers. Do the top layer on each side. Then the next layer on each side. Then the layer under that on each side. You get it.
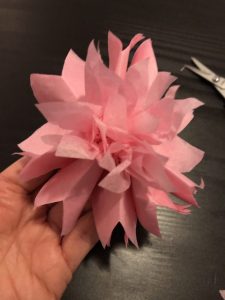
Keep going until every layer is pulled up and apart.
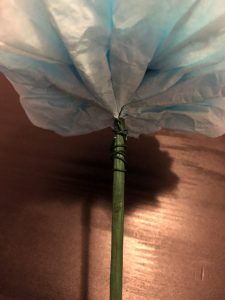
Step 5 - Attach a stick (or a straw, whatever you’re holding it up with) to the flower by simply wrapping the wire (or ribbon) around it like the following.
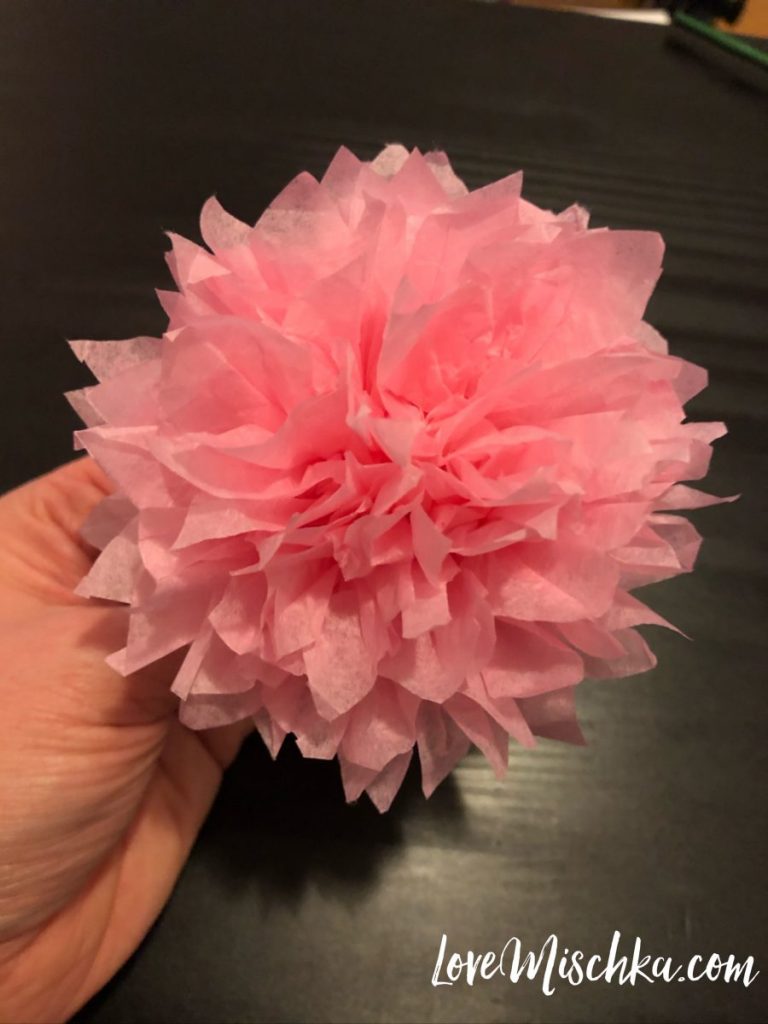
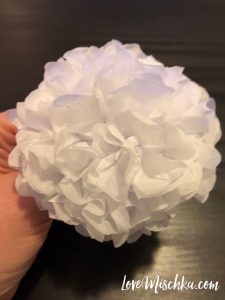
Step 6 - Play and fluff the flower until you reach your desired look.
Different Styles
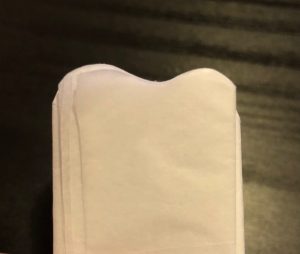
After you fold the tissue paper like an accordion or fan (Step 1), cutting the ends is key. You could also have some fun cutting tissue paper before you even fold it.

The wavy, uneven cut leads to a flower that looks like this one.

For most designs, you cut the ends after the tissue paper is folded into a strip (Step 1). Here are a few cuts and what they look like finished.


Different Sizes of DIY Tissue Paper Flowers
For a natural-sized flower, I prefer to cut the tissue paper into 5” x 5” squares, or around that. You can experiment with different sizes. I personally would not use a length greater than 6 ¼" wide (horizontally).
DIY Tissue Pom Poms are made just like DIY Tissue Paper Flowers. The ones on my adorable DIY Flamingo Centerpiece are created from tissue paper that is about 6 ¼" wide and 16 ½" long (vertically).
The longer the tissue paper is vertically, the bunchier the flower or pom pom will look. If that makes sense. I recommend the tissue paper for flowers be cut no more than 10 inches long.
I always layer six sheets of paper though! Whatever the size.
I hope you enjoyed this DIY Tissue Paper Flower guide. I also hope you're staying safe and healthy!
Thank you for stopping by. I'd love to see your flowers!


Goeste says
Amazing work here! Thanks for sharing this with us