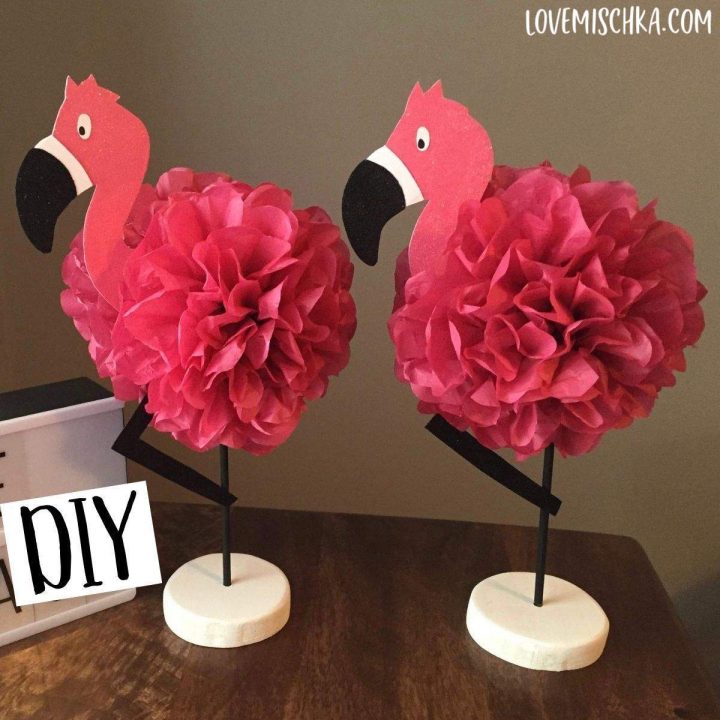
Learn how to make this cute DIY flamingo centerpiece with tissue paper pom poms for your next luau or pineapple party with this easy DIY guide.
This post contains affiliate links. If you click a link and make a purchase, I may receive a small commission at NO extra cost to you. I only recommend products that I use and love. Thanks! :o)
How to make a Pom Pom Flamingo Centerpiece
I originally made these DIY flamingo centerpieces for my friend’s daughter’s birthday. I enjoyed the challenge and wanted her to have an extra special day. After the party, I decided to include the centerpieces in my shop, Love Mischka. As a result, I have sold a BUNCH. They were also a frequent conversation starter at craft shows.

Due to their recent popularity on Pinterest (please follow Love Mischka HERE), I decided to post a detailed DIY guide. A template will also be available very soon!
UPDATE - THE TEMPLATE IS FINALLY HERE!!!
Click "Free Flamingo Template" or "Download" above to get your free Flamingo Centerpiece Template.
For now, it is a black outline of the flamingo that you can use to make your DIY flamingo centerpiece.
I'm currently working on a more detailed Flamingo Centerpiece Printable that will allow you to just cut and paste the design.
Handmade Flamingo Decor
Warning… these DIY flamingo centerpieces aren’t easy. I actually raised the price of them in my shop because of the work involved. (Target also increased the price of my favorite tissue paper to use.) You can do it though!!!! I will walk you through EVERY step in this DIY. I’ll make the process as easy as I can!
If you'd a prefer an easy DIY project, check out - How to Tie Dye Socks. It's a little different than a flamingo centerpiece, but it's definitely a fun party activity and a pair of cute tie-dyed socks is an inexpensive, handmade gift that would perfectly fit in goodie bags.
I create all of my crafts by hand. I roughly sketch my idea then cut it out as a stencil. A digital version of my stencil will be made and added to this post soon!
I prefer to paint my flamingo then add glitter. I have tried to use glitter cardstock. This works well for one-sided flamingo centerpieces.
If you are making a one-sided flamingo centerpiece, I recommend using cardstock and pasting it on chipboard. Chipboard provides extra stability and prevents the dreaded floppiness.
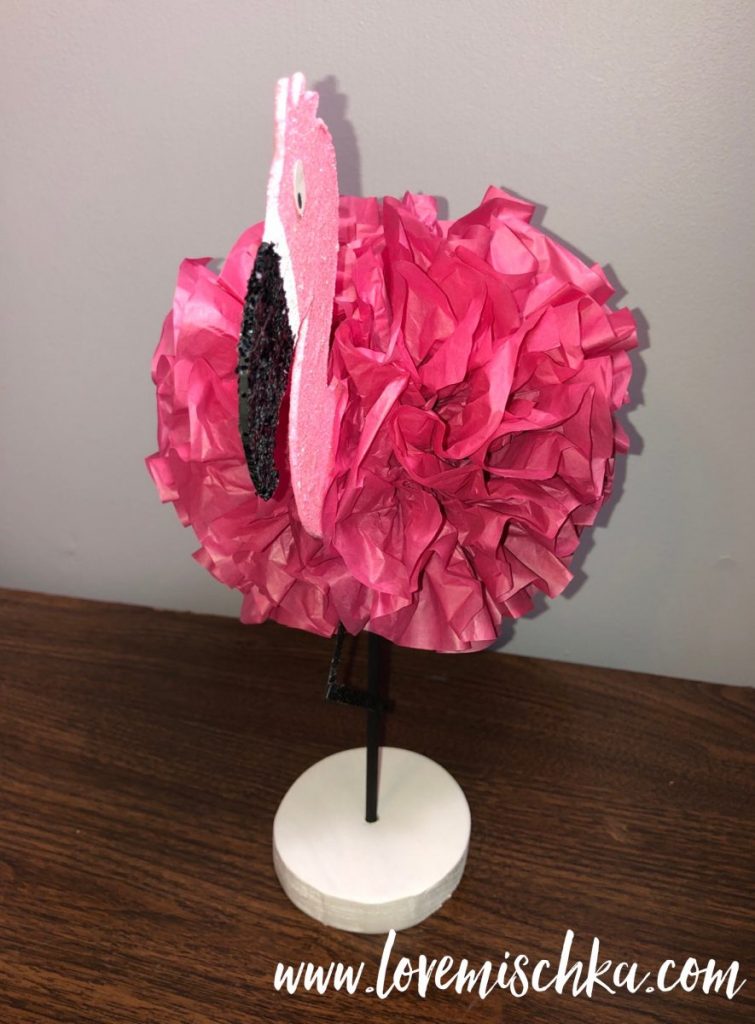
If you are making a two-sided flamingo, I definitely recommend painting chipboard. It can be difficult to close the gap between the two sides of paper along the edge of the flamingo. As you can see below, chipboard is thick. It creates a visible edge.
Materials Needed
I included links of what I use. Please feel free to check them out. If you buy them through the link, I may receive a small commission at NO extra cost to you. I really appreciate any and all support. It helps to pay for this site!
CHIPBOARD This provides extra durability and stability. It can be difficult to cut. It is best to do with an exacto knife. Thick chipboard does not buckle when it’s painted. This is important. We want the flamingo to stand tall and proud. I like to use Grafix Medium Weight Chipboard Sheets.
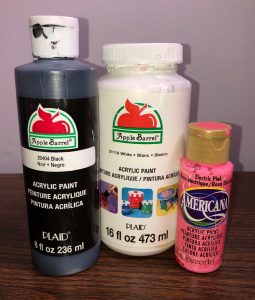
ACRYLIC PAINT Pink, black, and white paint. I LOVE mixing colors. It is my favorite part of painting. In order to provide consistency for my shop, I started to buy pink paint. I like to use DecoArt Americana Acrylic Paint in Electric Pink.
PAINT BRUSH This is obviously needed to paint your beautiful flamingo centerpiece!
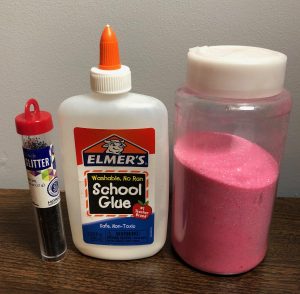
GLUE For the glitter. Elmer’s glue works great! I like to paint on the school glue before I add glitter. This technique covers the best.
GLITTER Pink and black glitter. For pink glitter, I use Homeford Firefly Imports Fine Glitter Arts and Crafts in Light Pink.
More Materials for the DIY Flamingo Centerpieces
TISSUE PAPER Hot Pink tissue paper for the pom poms. I usually buy mine from Target, but the quality has recently changed. I’m currently looking for a better option. I will let you know when I find one!
FLOWER WIRE or RIBBON This is used to hold the pom pom together.
WOODEN DOWEL This is the leg that the flamingo stands on. I like to use 3/16” x 12”. I buy it from Amazon. You can check it out here.
BLACK GLITTER CARDSTOCK (or just paint and glitter more chipboard!) This is for the leg that bends. Sometimes, Walmart has this for pretty cheap.
WOOD A small piece of wood that you can cut and use as a stand.
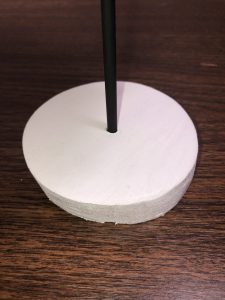
HOT GLUE GUN and GLUE This is to hold everything together.
DIY Flamingo Centerpiece Steps
1 - Sketch/Trace the Flamingo shape on a piece of chipboard.
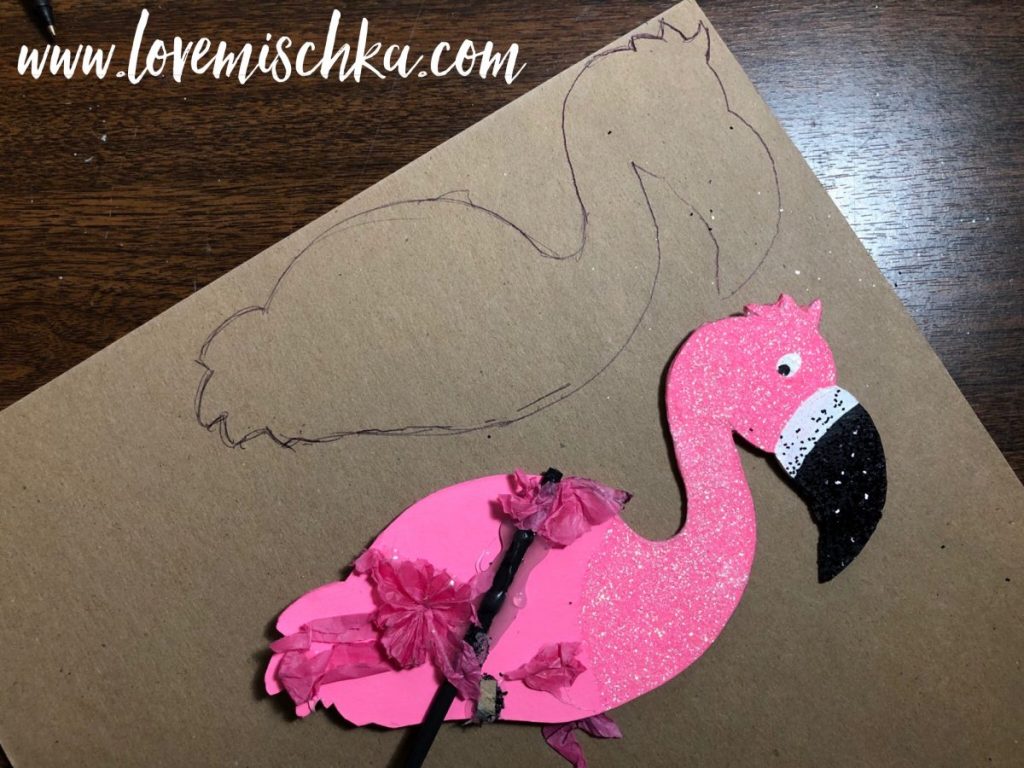
2 - Cut out the Flamingo. If you are using the thick chipboard, this is easier to do with an exacto knife. For this DIY guide, I am using a thinner chipboard. I can quickly cut it with scissors and it has less of a chance of irritating my carpal tunnel (the curse of a writer/crafter).
3 - Paint the PINK part of one side of the flamingo. You may need a second coat after the first has dried.
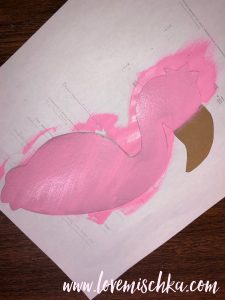
4 - Paint the BLACK part (the beak) of one side of the flamingo. You may need a second coat after the first has dried.
5 - Place the flamingo, paint side up, on a piece of paper and let it dry completely.
Pom Pom FUN!
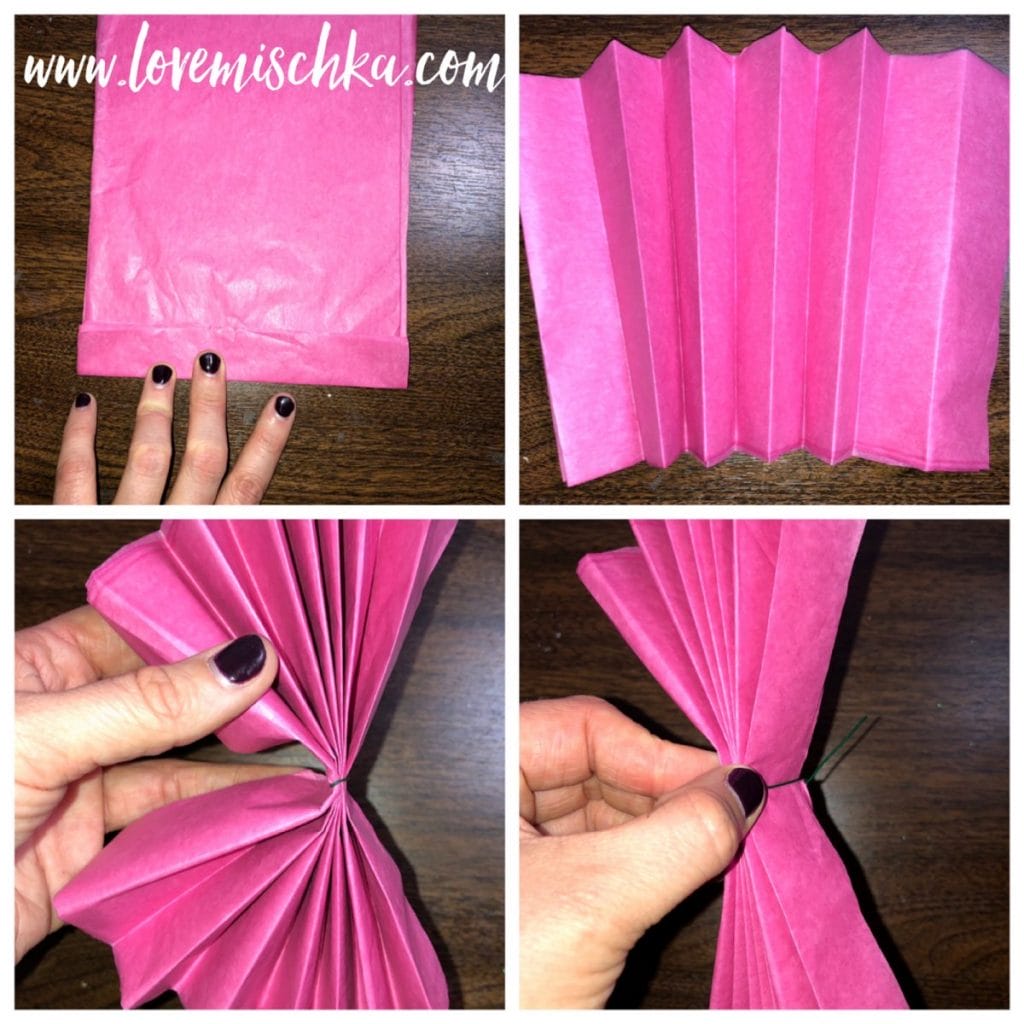
6 - Layer 6 sheets of hot pink tissue paper. I recommend folding a sheet of tissue paper in half to make two layers. If you do this, layer 3 folded sheets (for a total of 6 layers). The sheets should be 16 1/2 inches in length (vertically). Measure 6 1/4 inches wide. This is where you will cut. The final strip is 16 1/2 inches long and 6 1/4 inches wide.
7 - Fold the tissue paper like a fan. To do this, fold about one inch vertically. The flip the tissue paper over and fold another one inch vertically. Keep doing this until you fold all of the paper.
8 - Cut each edge of the folded tissue paper into a U shape. (This is optional. I did not do it for the DIY… I forgot. Cutting the edges into a U shape provides a cleaner look to the pom pom though.)
9 - Tie a small piece of flower wire or ribbon around the center of the folded tissue paper. Twist the wire or tie the ribbon to secure.
GENTLY PEEL the tissue paper up and apart.
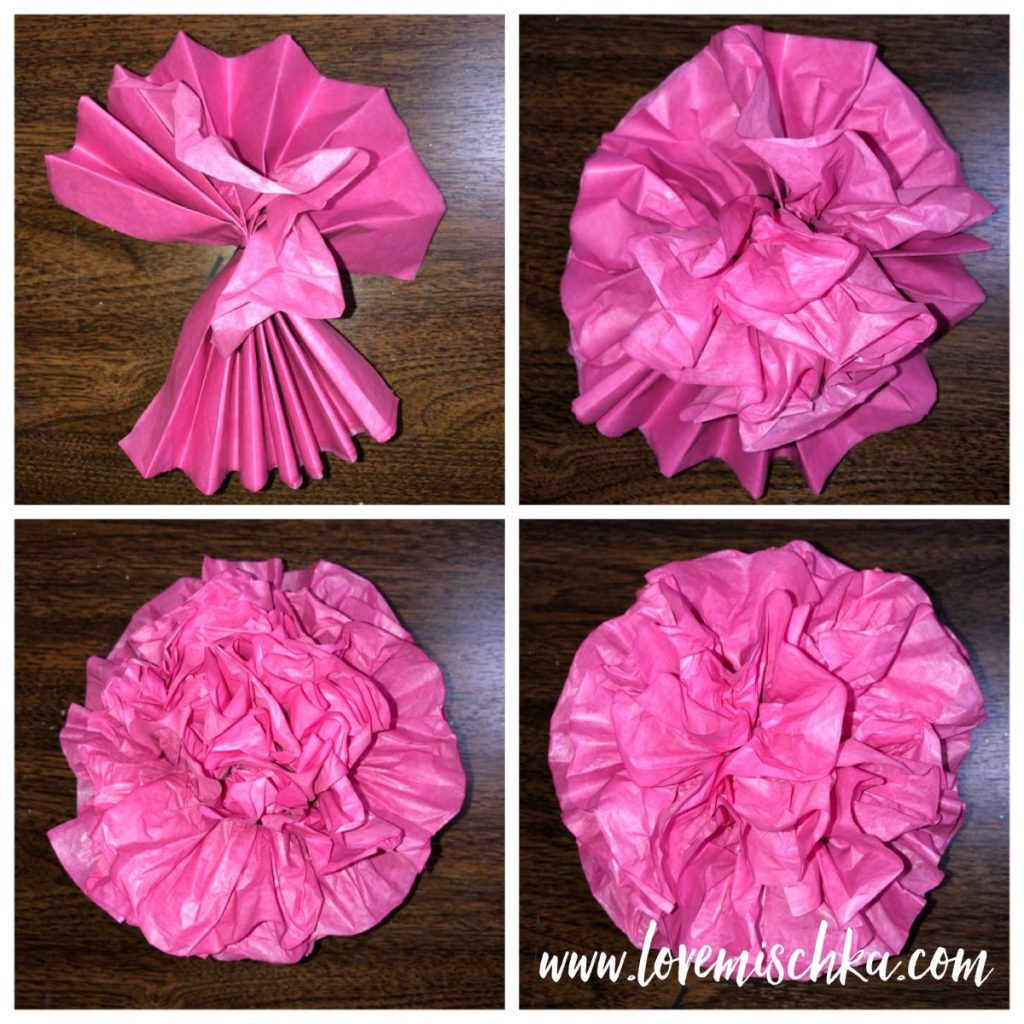
10 - Open the folded tissue paper like a fan. VERY GENTLY peel up each layer of tissue paper. Peel the top layer on EACH side first. Then do the second layer on EACH side.
It is EXTREMELY important to be careful with the paper. I have ripped and destroyed SO many Pom Poms. It’s annoying and frustrating to have to start again.
After peeling up each side, spread the tissue paper and play with it until it looks how you want.
11 - If you are doing a two sided flamingo centerpiece, repeat steps 6 to 10. The flamingo needs two tissue paper pom poms! One for each side.
Back to Paint and Dry!
12 - Check your flamingo. If it’s dry, paint the other side. Review and repeat steps 3 to 5.
13 - Prepare the wood stand, if you need to. Fortunately, my brother or dad cuts and sands the wood for me because I’m a klutz. They also drill a hole in the center that is the size of the wooden dowel. The circumference of the circle stand is 3 1/4 inches.

Legs for Days!
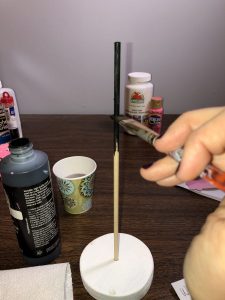
14 - Stick the wooden dowel into the stand. I cut about 2 inches off of my wooden dowel to make my flamingo centerpiece a tad shorter. This is entirely up to you. If you want to cut it, definitely cut it before painting it.
Paint the wooden dowel with black acrylic paint. You do not have to paint the piece that is inside the stand. We will hide that side underneath a pom pom.
More DIY Flamingo Centerpiece Steps
15 - Check your flamingo. If the paint is dry, add white "swoop" above the black part of the beak on one side of the flamingo. Also, add a white oval for its eye. Let it dry. You may need a second coat of paint. I usually do. Please wait until it dries to add more paint.
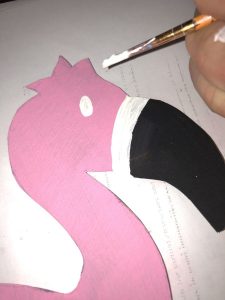
16 - If the wooden dowel is dry, take it out. It is time to paint the stand. I paint it white because my original stand was a white circular object that I found in my dad’s tools that happened to fit perfectly. You could paint the stand black or any other color you want.
17 - Repeat step 15.
The Bent Leg of the DIY Flamingo Centerpiece
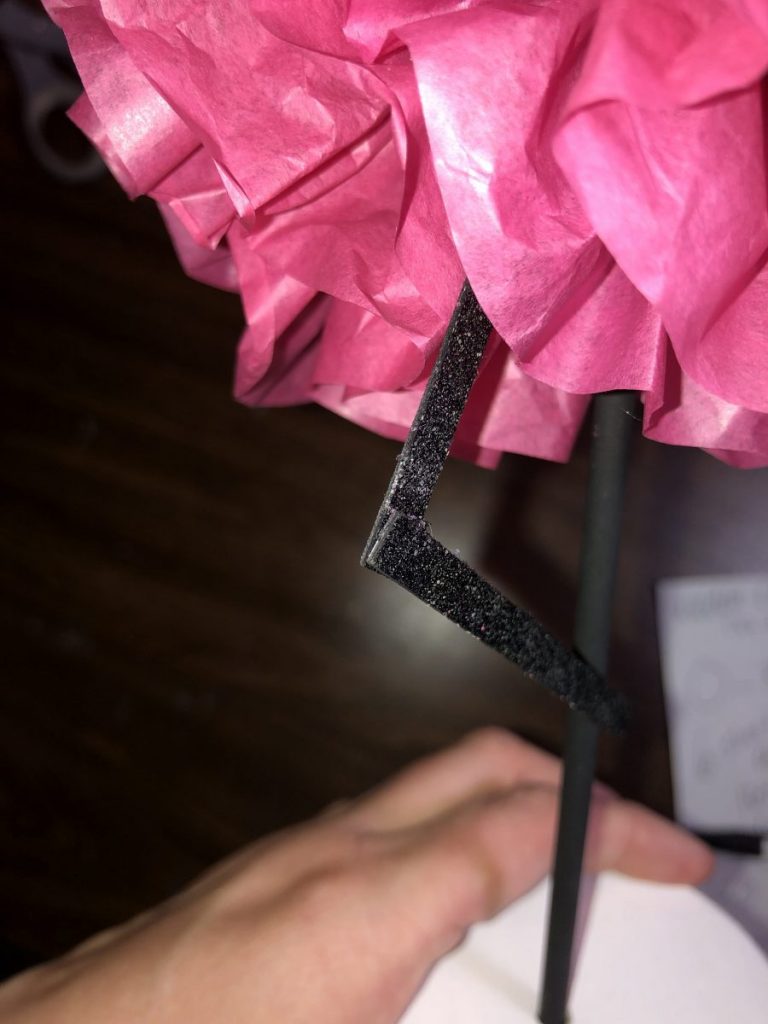
18 - Cut 4 strips of black glitter cardstock. Each strip should be about 3 inches long and 1/4 of inch wide.
Glue two stripes together, back to back (glitter side out). I like to color the edges with a black sharpie.
Glue the bottom piece of one strip to the top piece of another, with the lower strip at an angle. This is the leg that bends. Here is a close up of how I glued the pieces.
Finish those eyes!
18 - Once the white eye areas on your flamingo is dry, add a small black circle to the eyes. Do one side. Let it dry. Do the other. You could also do both and just hold it. I tend to do this. I fan it and do a little dance.
Add some SPARKLE!
19 - When your flamingo is completely dry, it is time to add glitter. It is very important to make sure the flamingo is COMPLETELY DRY. You do not need to put glitter where the pom poms go. I only glitter the neck, face, and beak. Paint GLUE on the pink part of one side of the flamingo. AVOID the eye area.
20 - Quickly sprinkle pink glitter on the glue. It is easier to do this on a piece of paper. After you sprinkle the glitter, shake the flamingo over the piece of paper. This way you can save and use the excess glitter! I fold the piece of paper and funnel the glitter back into the container.
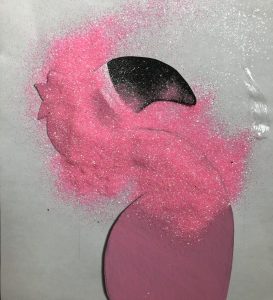
21 - Paint glue on the black beak of one side of the flamingo. Avoid the white area.
22 - Quickly sprinkle black glitter on the glue. Shake the flamingo over paper like you did before. I usually do this on a new sheet paper though, so no pink glitter mixes with the black.
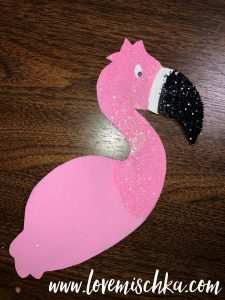
Let the DIY Flamingo Centerpiece completely dry!
23 - Repeat steps 19 and 20 on the other side.
24 - Use the hot glue gun to glue the wooden dowel to one side of the flamingo piece. I ripped apart an old flamingo so you can see exactly how it works and where it goes.
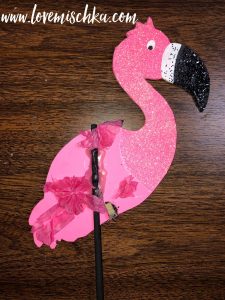
25 - Use the hot glue gun to glue the top of the black glitter cardstock leg to the flamingo piece. You can also glue the bottom part of the leg to the wooden dowel. Here is a photo that shows exactly where I glued the leg on my original flamingo centerpiece.
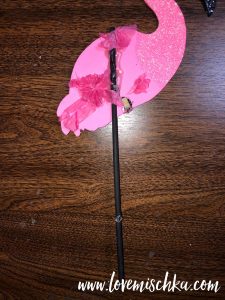
Add the pom poms!
26 - Cut the wire on the pom poms very close to the tissue paper. Use the hot glue gun to place glue in the center of the back of one pom pom. Press the pom pom on the flamingo piece exactly where you want it. Hold it there so the glue can dry in place.
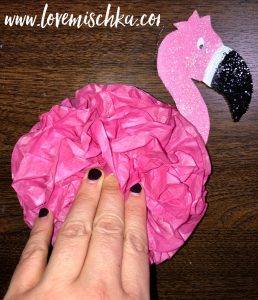
27 - Then use the hot glue gun to glue the back layer of tissue paper (of the pom pom) to the chipboard of the flamingo. Do this very sparingly in different spots. You do not and should not glue it all. Please be very careful. Tissue paper is very thin, so it is easy for the glue to leak through and burn you.
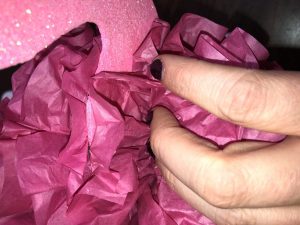
28 - Repeat steps 25 and 26 on the other side of the flamingo (if you are making a two sided flamingo). It is a little more tricky this time because of the pom pom on the other side. You will feel like you’re crushing the other pom pom… You are. We will re-fluff it later though.
You're almost there!
29 - Use the hot glue gun and put glue in the hole of the wooden stand. Use just a little bit. It can easily billow out when we put the wooden dowel (and your DIY flamingo centerpiece) inside.
30 - Stick the wooden dowel (and the DIY flamingo centerpiece) in the hole of the wood stand. Hold it for 30 seconds.
Fluff, fluff, fluff!
31 - Re-fluff the pom poms of your DIY flamingo centerpiece. Please be very careful with this. Tissue paper can rip very easily.
Final step....
Admire your DIY Flamingo Centerpiece! You did it!
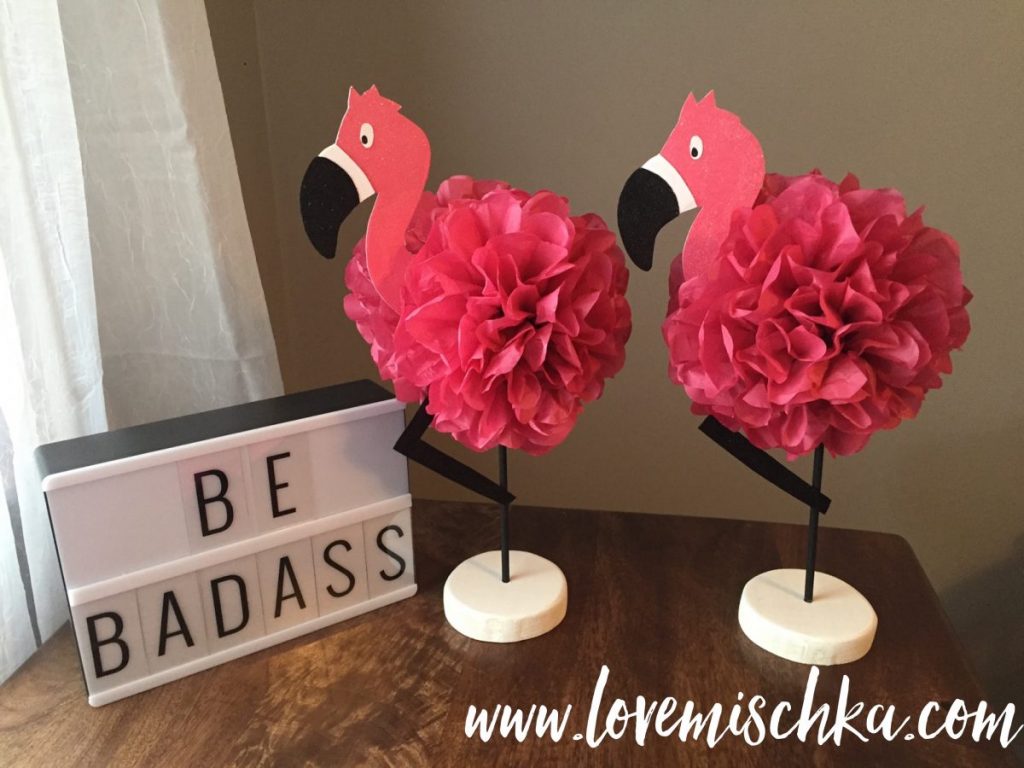
Creating a pom pom diy flamingo centerpiece definitely takes time, effort, and patience. I hope this detailed diy guide makes the process much easier. I also hope you LOVE your diy flamingo centerpiece.
If you prefer to buy a flamingo centerpiece from Love Mischka, please contact me.
I would love to see photos! Please feel free to share your experience below. Happy Crafting!
Please remember to follow Love Mischka on Pinterest! Or simply pin one of the pins below. Thank you!
Tyler Settle says
Hello, I am Looking for the template for these flamingos. It says it will be added soon. I looked in your ESTY store and didn't see them there either.
Jen says
Where is the template?